-
 10 Best Gifts for Boyfriend and a Complete Guide for Selecting Gifts That Will Not Only Surprise and Impress, but Knock His Socks Off! (2019)
-
 What If You Can Make an Exclusive Designer Dress by Re-Using Your Old Saree(2020)? Create Magic by Transforming Sarees into Lehenga Using Our Craft Ideas and Be Proud of Yourself!
-
 Make His Birthday a Day to Remember! 10 Excititng Gifts for Your Husband on His Birthday and 3 Ways to Make This Day Memorable (2019)
Want to Make a Miniature Gift Box? Here's Where to Start

Gifting anyone, be it to a friend or a family member, can be challenging, particularly, trying to find the perfect wrapper. This is because the wrapper or the gift box is the first thing they see before they actually see the gift. However, no need to worry about that, because there is a small gift box that you can actually make yourself. Also, there is the added advantage of not spending any money to purchase it. This is because you can make it yourself and save a lot of money. However, there are some essential things you should consider before endeavouring in the act of making a miniature gift box. They include:
Related articles

Type of Gift

Establishing the kind of gift to be wrapped is necessary when making a small gift box. One of the reasons is so that you should know clearly the number and type of materials you require. This will help in fixing a budget for the whole process. Therefore, establish the size and nature of the gift because some gifts might be too large, thus requiring a large number of materials.
In other scenarios, some of the presents might be small and may only require a few resources to prepare the gift box to hold them. Also, it is extremely important to know the shape of the gift. This is because some gifts have a complicated shape, which calls for the gift box to be prepared in a special way that does not compromise the appearance of the present.
Budget

This implies the amount of money you are willing to spend in the process of making a small gift box. However, it does not only focus on the money spent but also the amount of time you are willing to allocate for this process. Also, it helps to restrain you from overspending on something that could have been very cheap. Therefore, a budget dictates the type of materials to be used. If you are willing to use the highest quality materials, then it is apparent that you will have to spend more as compared to someone willing to use recycled materials and so on. Since you may be wanting to make the small gift box primarily to save on costs, then having a budget is core to ensure that the end goal is achieved.
Related articles

Age of the Recipient of the Gift

Different age groups have different tastes and preferences. If you are planning to make a small gift box then the ultimate objective is of impressing the recipient. Therefore, to achieve the end goal of influencing the recipient, it is essential to know their exact age. It would not be impressive to present an adult with a gift box full of cartoons and alphabets as it would be to offer the same to a five-year-old child. Similarly, it would also not be advisable to present a six-year-old with a gift box that is plain and without any exciting colours. Thus, the significance of understanding the age of the recipient is extremely important.
Gender of the Recipient of the Gift

Men and women are attracted to different things including colours. For example, when presenting to a woman, a gift in a gift box decorated with pink flowers and yellow spots will appear extremely appealing to her. However, if the recipient is a man, then presenting a gift box that has blue or grey as the primary colour will impress him a lot.
In some cases, men do not even consider the appearance of the gift box, which shows that there is no need for putting in so much effort in creating the small gift box. On the contrary, women focus on the appearance of the gift box, as they do on the gift inside. Therefore, presenting a gift that is very attractive to them is a bonus point.
Related articles

Basic Materials Required
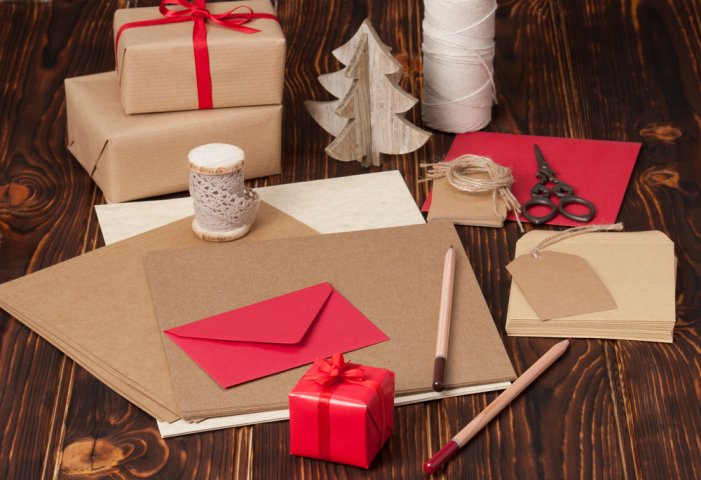
When planning to create a miniature gift box, it is vital to be a little familiar with the necessary elements needed for this process. With this knowledge, you can figure out the specific stores you need to visit to acquire the required materials. Some of the essential materials required include a pair of scissors, a ruler, a pencil, a glue stick, a printer, and a paper or a board based on what you want to use. However, as mentioned earlier, these are just the basic requirements. Based on what you want, you can add other materials too. For the beginners, there are various stores from which you can get these basic materials including Amazon and Itsy Bitsy which ensure that these materials are delivered to you. Therefore, based on your budget, you can also visit any craft store in your neighbourhood to grab these materials. Also, other craft stores also exist apart from the listed online stores.
Steps to Follow When Making a Small Cube Gift Box
The process of making a miniature gift box follows a series of steps to achieve the best result. Failure to follow these steps might result in an object not pleasing to the eye. However, there are various other steps followed by different people in this process, and the important thing is to follow all the outlined steps one after the other and be assured that the end product will be as good as it can be. The following steps will describe the process of making a tiny gift box:

1. Get the Desired Kind of Paper and Measure
Before making the gift box you need to identify the paper to use. In this case, we use a piece of white plain paper. Once identified, get the accurate measurements of the paper required to make the gift box. Use a paper of measurement 12" x 12" which is a square. Ensure the measurements are accurate so that a perfect square is created. With the precise measurement, there is no wastage of resources, resulting in more savings. It is essential to ensure the paper measures exactly 12" x 12" and is square-shaped, for this method to be applicable.
2. Print Out the Patterns You Desire
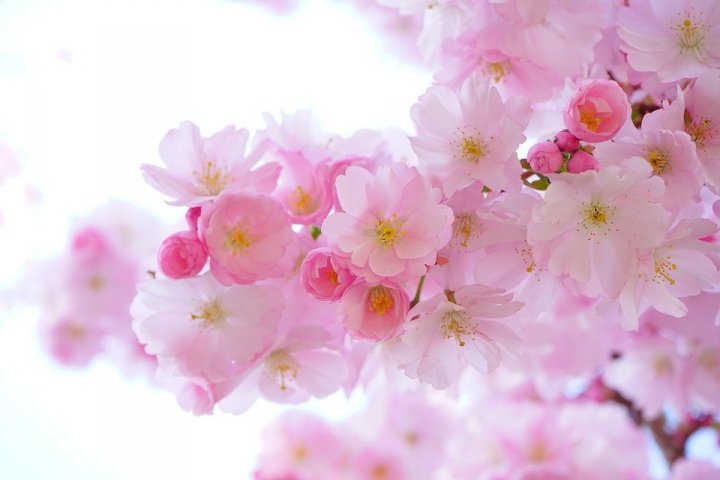
Once you have identified the thickness, the texture, and the size of the paper to use (12" x 12"), you can also choose the print to use on the paper. We can suggest an option for you to use - download the wallpaper by the name Pink Petalled Flowers from Pixabay and then print the wallpaper on your paper using your printer. Make sure that you print it on one side only, to avoid over-doing it.
Related articles

3. Fold the Paper
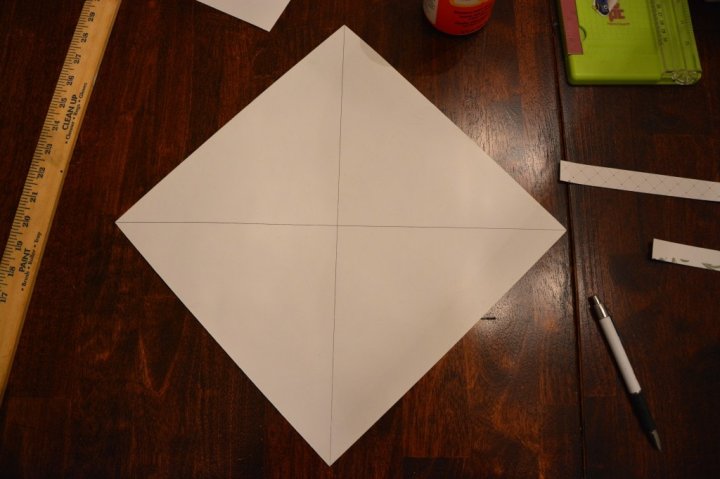
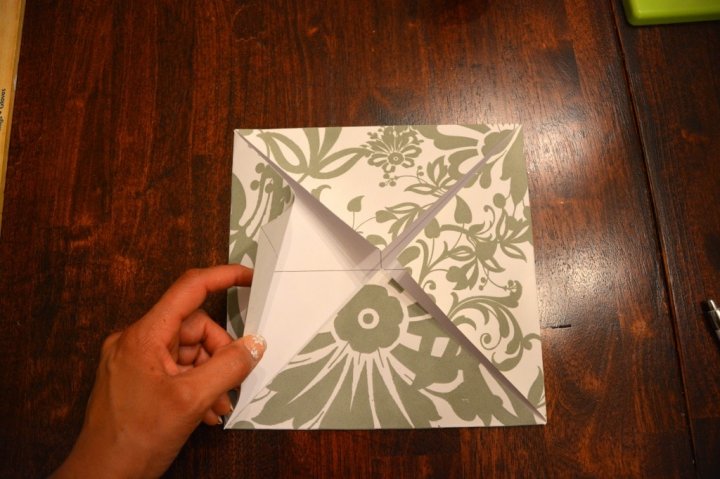
With the paper already printed, it is time to fold it to shape it into a box. Since the paper is printed only on one side, the other side is plain. Draw, using a pencil and a ruler, an "X" from one corner to the other on the plain side. Once that is done, rotate the paper to gain the shape of a diamond. Go ahead and fold in the four sides of the diamond to meet at the centre. Still holding the paper in the folded position, unfold the top and bottom part, then wrap the folded sides one more time to meet in the middle line. Ensure that all the folds leave well-defined lines because they will be vital in the next step.
4. Unfold the Paper
Since all the fold lines are crystal clear, unfold the paper and hold it in a position that gives it the diamond shape. Once that is done, fold the paper from the bottom corner to the centre. Remember where it is mentioned that the fold lines will be necessary, then here is the point where, with the base still folded, cut the edges (both) of this folded side along the fold lines up to the edge of the corner. This can be a very confusing part, however, refer to the image under step-10 on Thrift Diving. Rotate the paper to do the same on the opposite side. Therefore, at this point, you have two opposite sides that are unfolded, and the other two are folded and cut.
Related articles

5. Set Up the Box
This is the last and most delicate part of making a small gift box:
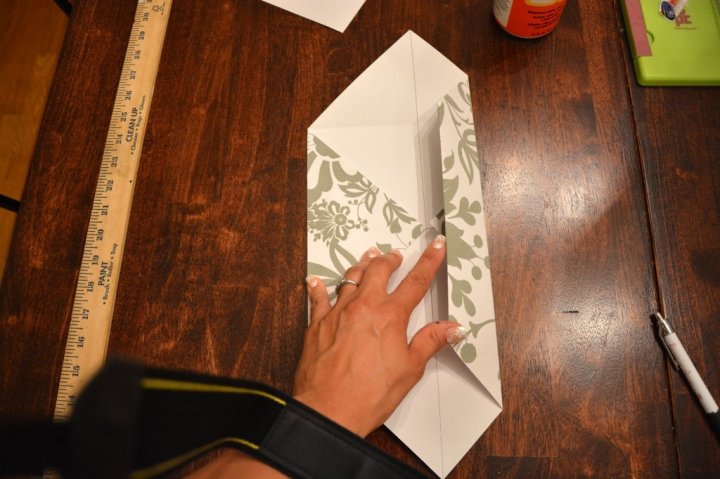
- Still holding the paper in the same position, create more fold lines by folding back the tips of the inner part of the snipped sides. To avoid any grey areas, refer to image under Step-7 on Spoonflower. Let the snipped sides go, then focus on the other two opposite sides that are still whole.
- Fold these sides to meet at the centre along the creases. Then since the edges of the snipped sides are along with them, fold them in, still along the creases. There will be a total of four snipped tips that you are folding on top of the whole sides.
- Use a glue stick for this part and stick the corner parts (triangle-shaped) of the full corners down on the paper. The outcome should have two pointy ends glued down on paper towards the centre. The opposite snipped sides are still free together with their edges.
- On one corner of the snipped sides, hold the edges towards each other on the inner side of the centre part. Since they meet at halfway the centre part, wrap it over these edges, which now begins to take the shape of a box. Use the glue stick again to stick the triangle-shaped corners down. By now, you should have three sides of the box up. Do the same procedure on the far side, and now you have a box.
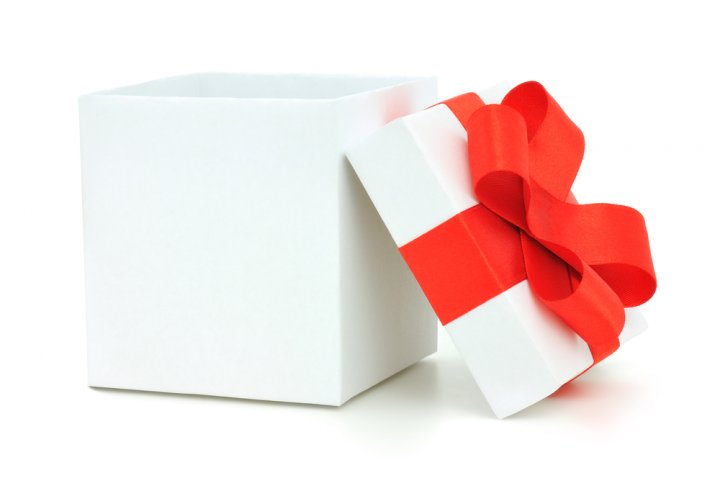
6. Make the Cover
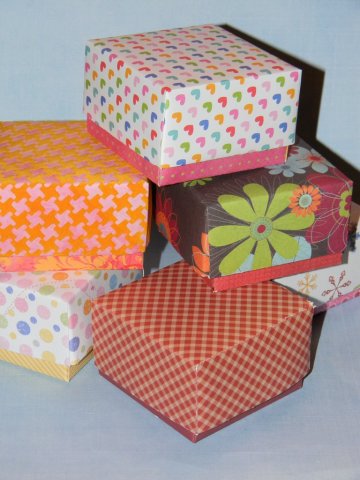
Since your box is open, there is a need to make a cover or lid. Therefore, follow the steps strictly; however, increase the cover measurements with 0.125” to ensure that it is big enough to cover the small gift box completely. At this point, you can be more creative and add more colourful prints depending on the recipient of the gift. However, in this case, use a plain white paper to make the cover.
It is important to know that both parts of the miniature gift box are similar, the only major and most important difference is the measurements. Without accurate measurements, the outcome will be compromised. Therefore, treat that as a major consideration while going through with the process.
Related articles

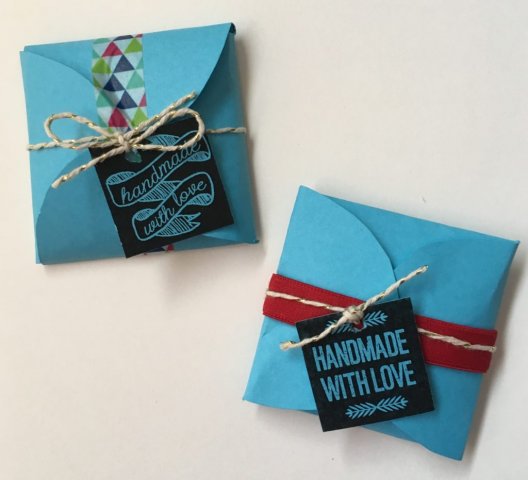
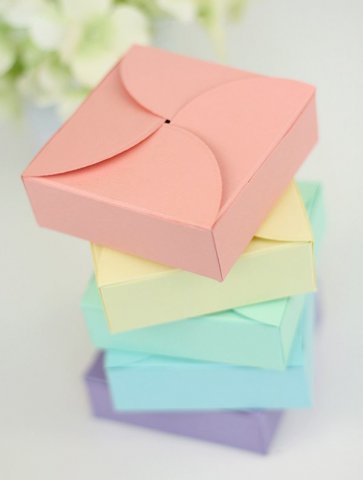
Steps to Follow When Making a Miniature Petal Gift Box
Many other patterns can be used to make a small gift box. Therefore, the process given above is not the only way. You can also learn how to make a small gift box that is not just a bare cube, but one with various patterns. In the next section, you will learn how to make a small petal gift box. This means that the top part of the gift box is not just bare, but has some design. The following are the steps to be followed:
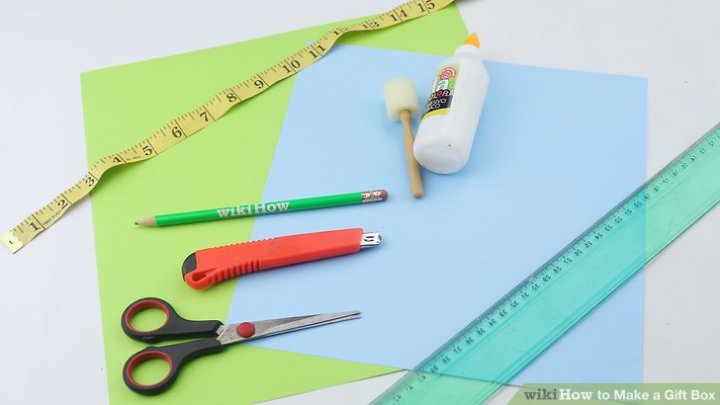
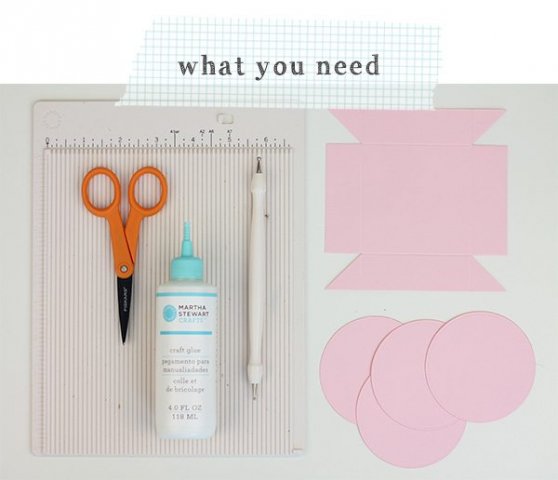
1. Choose the Material to Use and Measure
The first step is to acquire the materials to be used. You require about 15 minutes of your time, a pair of scissors, a scoring board, craft glue, 5” x 5” square piece of card-stock, and an extra card-stock. You can choose the colour you prefer to make this gift box. However, focus on using a card-stock of the given measurements. The gift box, in this case, can be used to house a ring, a bracelet or even a necklace.
Related articles
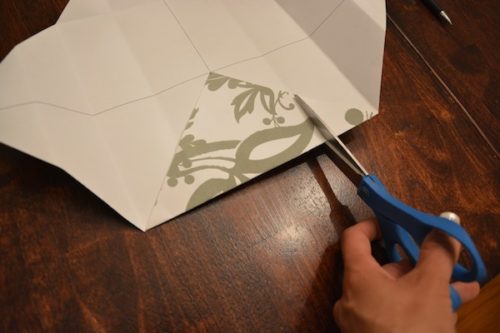
2. Cut Out the Shapes Required
The second step involves the shaping of the materials in the desired shapes. Cut 1” piece of the 5” card-stock vertically, from two corners of the opposite sides, as shown in the third image below. After that, cut out triangles from these two opposite sides. Therefore, make sure you have four small triangles from the corners. Also, make sure that only two opposite sides are affected while the others are whole. It is now time to use the other additional card-stock. Cut out four pieces of 3” diameter from the additional card-stock. These circles are essential for bringing out the petals in the gift box.
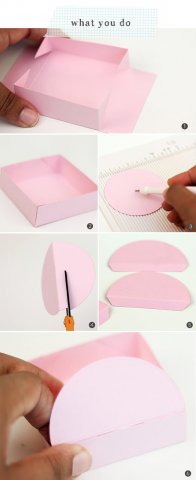
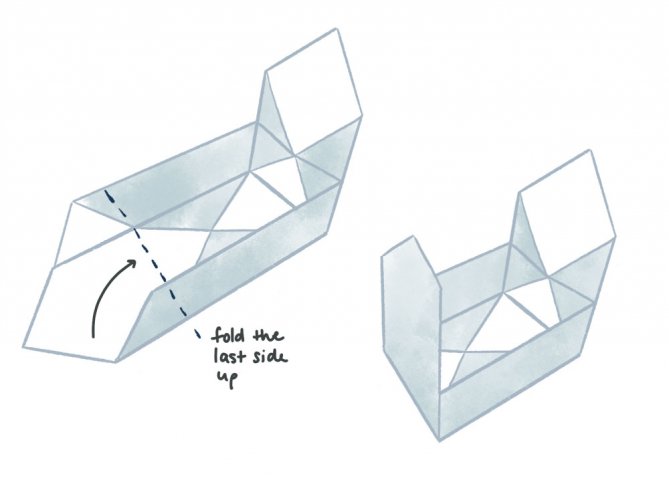
3. Assemble the Box
With all the shapes in place, it is now time to assemble the box. Focus on the square card-stock and fold the four sides inside ensuring that the fold is exactly 1” and at a right angle and not any larger. This is important to ensure that the box is uniform in shape. Once all the sides are folded on the inside, the box starts taking shape.
Ensure that the remaining triangle flaps attached to the card-stock, are on the inside of the whole sides and glue them there. This is to ensure that the gift box will be firm and stable. Once this is done, then you move on to the circles.
Related articles

4. Fix in the Additional Shapes
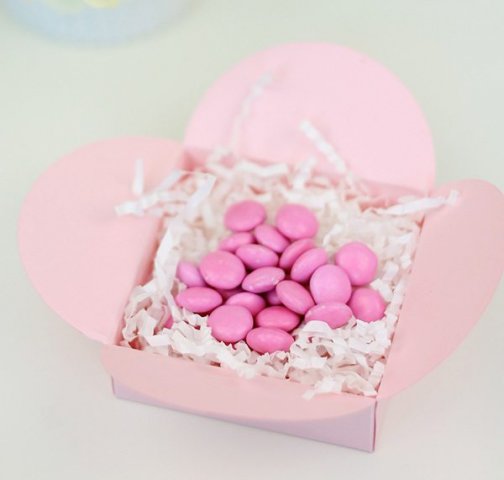
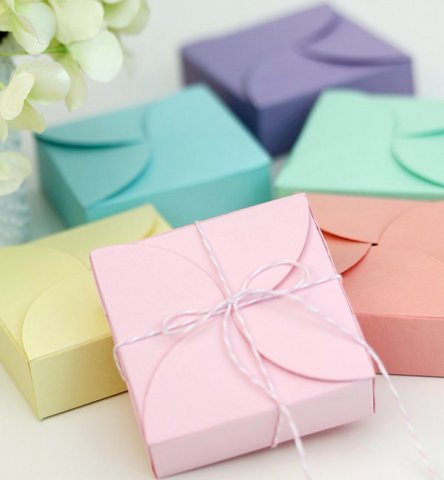
Pick one circle and fold it at the middle, ensure that the fold divides the circle in two exact halves. Measure exactly ¼” below the folded part. Then trim the circle at this point. Do this to all the four circles and be extra careful with the measurements to avoid compromising the measurements. With that done, go ahead and glue the extra ¼” part of the circles on the inside edge of each side of the box. Ensure that they stick well. The end product at this point is a box with semi circles from the four sides. Lastly, intertwine the four semi circles and you have a petal gift box.
5. Time to be Creative
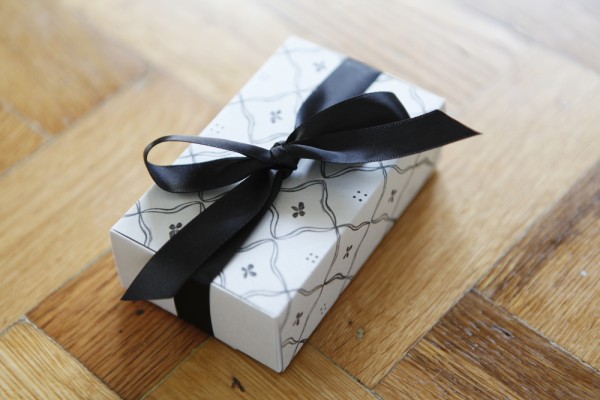
This last part is optional; therefore, it is not part of the vital steps. One way to be creative in this process is to tie a neat bow over the top of the gift box.
Related articles

Bonus Tips on How to Make a Miniature Gift Box

It is always exciting to diversify when making a miniature gift box. There are many ways which you can employ without compromising the outcome of your gift box. Here is a list of some tips that once applied, can diversify the process and make it even more enjoyable for everyone regardless of the age:
1. Environmental Conservation

Environmental concerns have been a global issue and at the same time, a personal matter. Therefore, in every activity you engage in, it should be conducted with environmental conservation in mind to avoid any form of environmental pollution. While making a small gift box, you can avoid purchasing new paper and use what is available, which is a form of recycling. You can opt to use a cereal box material, waste wallpaper, papers from disposed-off books, or even an old scrapbook. This will ensure environmental conservation through the recycling of waste materials.
Related articles

2. Creativity

Any form of creativity is appreciated. It shows that some effort has been put in doing something. Therefore, when making a small gift box, creativity is one of the most core things. Even though all the above steps are followed, add in a little excitement. If the gift box is meant to hold a gift for a young child, irrespective of the gender, a little bit of creativity goes a long way. You could add some stick-on of what the recipient likes and some such things. Analyse the recipient of the gift and decide on what you should be creative about when making the tiny gift box. Also, you can decide to go way more creative and instead of making just a simple box, you can make an explosive gift box. Many people have no idea about this box which makes it even more exciting. There are many ideas out there regarding an explosive gift box, how to make it and in case if you opt to buy it, where to buy it.
-
What If You Can Make an Exclusive Designer Dress by Re-Using Your Old Saree(2020)? Create Magic by Transforming Sarees into Lehenga Using Our Craft Ideas and Be Proud of Yourself!
-
 Top Diwali Gifts for 2020 to Give to Family, Friends and Associates
-
 Do Away with Routine Anniversary Celebrations! 10 Gifts for Husband for Anniversary to Make Him Go Weak in the Knees and Ideas to Keep the Romance Alive (2019)
-
 Wedding Gifts for Couples in India: 11 Traditional, Modern and Creative Gifts to Fit Every Kind of Budget (2019)
-
 Go the Extra Mile this Mother's Day: Thoughtful Gift Ideas for Mother's Day in 2019
Leave an Indelible Impression with a Hand-made Miniature Gift Box
The way you present a gift says a lot about you. If you make a gift box for the gift you are planning to give to your loved one then it only shows how much you care for the person and what that person means to you. This small effort leaves an indelible impression on the recipient's mind and makes the occasion even more awesome for him. We hope this BP Guide will help you in creating a miniature gift box with little or no problems the next time you think about gifting.
 Highlight the Best Facets of Your Incomparable Beauty: Discover the Best Face Highlighter Currently Available in India and Everything You Need to Know About Using Face Highlighters for Maximum Effect (2023)
 Forget the Blemishes and Get that Picture Perfect Flawless Radiance on Your Face: Check out the Best Foundations for Oily Skin Currently Available in India and Everything You Need to Know About Makeup Foundations (2023)
 Make Your Presence Felt Wherever You Go: Discover the Best Perfumes Under 2000 for Both Men and Women to Announce Your Arrival and Make Any Occasion Memorable (2023)
 Protect Your Oily Skin from the Harmful Rays of the Sun: Discover the Best Gel Based Sunscreens for Oily Skin and Everything You Need to Know Before Buying One (2023)
 Minor Blemishes and Wrinkles Affecting Your Confidence? Check out the Best BB Creams to Conceal Your Worries and Nourish Your Skin to Restore the Healthy, Radiant and Glowing Complexion Back Again (2023)