-
 10 Best Gifts for Boyfriend and a Complete Guide for Selecting Gifts That Will Not Only Surprise and Impress, but Knock His Socks Off! (2019)
-
 What If You Can Make an Exclusive Designer Dress by Re-Using Your Old Saree(2020)? Create Magic by Transforming Sarees into Lehenga Using Our Craft Ideas and Be Proud of Yourself!
-
 Make His Birthday a Day to Remember! 10 Excititng Gifts for Your Husband on His Birthday and 3 Ways to Make This Day Memorable (2019)
Personalising Your Envelope
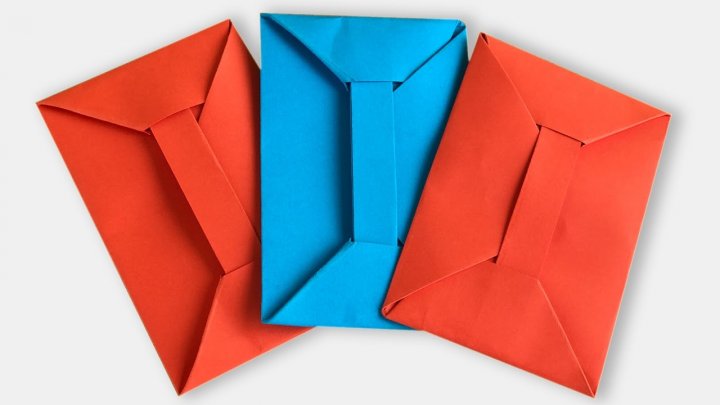
Envelope making is an art. You can customize our own gift parcel/wrap for the card by adding a personal touch to it. It is very cheap and quick to make. People who are receiving these envelopes will surely love it for being a thoughtful and creative gesture.
Choose Appropriate Materials
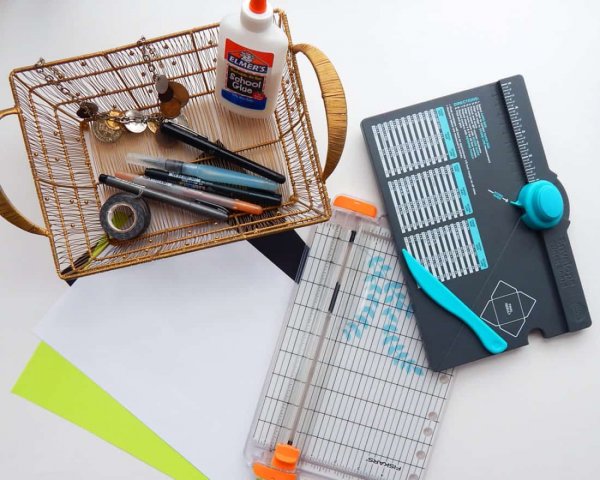
When making a personal envelope or creative envelope or business envelope, you have to select the right things to ensure its quality. You have to look for the envelope size, weight of the things to be kept inside, choice of the preferred colour, envelope based on its purpose and type of the envelope before choosing the materials.
Select a Blank Envelope Template
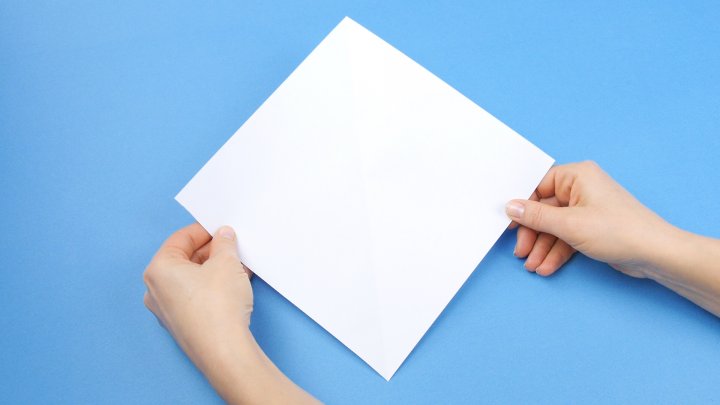
For creating a template based envelope, initially determine the type of design you want to print on your envelope. After determining the design, you have to look for the size, structure, and colour before making an envelope. It is always a good idea to make a rough template before making an original one. Making a rough envelope ensures that you choose the perfect dimensions based on your requirement.
Sketch Pencil Guidelines
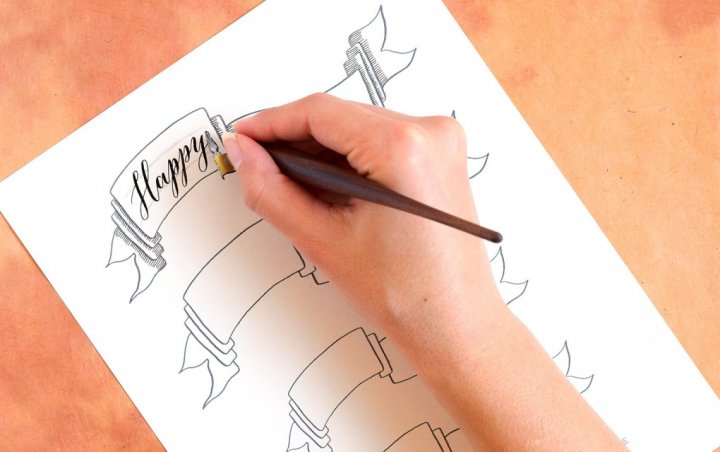
Before choosing a style for making an envelope, you should select the sketch pencil guidelines. Draw your design in pencil first before making it permanent on the envelope. Mark the size of the envelope using pencil before cutting off the paper with the scissors. After the work is done, you can erase the pencil sketch guidelines. If you are doing any art on the paper, you can use pencil sketches before using the original colours like crayons, watercolours, sketch pens or pastel colours.
Get Creative with Your Design
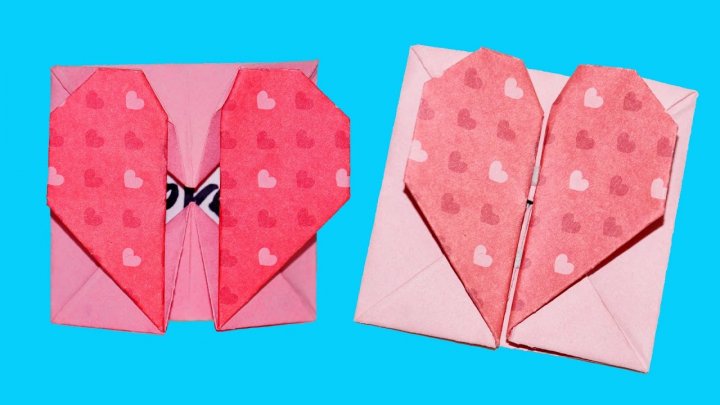
Transform and explore your creativity into a useful design. Creative envelope designs can be used for greeting cards or for packing small gifts for your dear ones. Envelope designs can be usually printed out or made from A4 sheets. Moreover, if you are confident enough, you can play around with paper sizes, and you can make envelopes out of plastic pouches, cloth materials and much more. There are numerous tutorials online that teach us to make elaborate origami envelopes.
Master the Art of Cut, Fold and Send
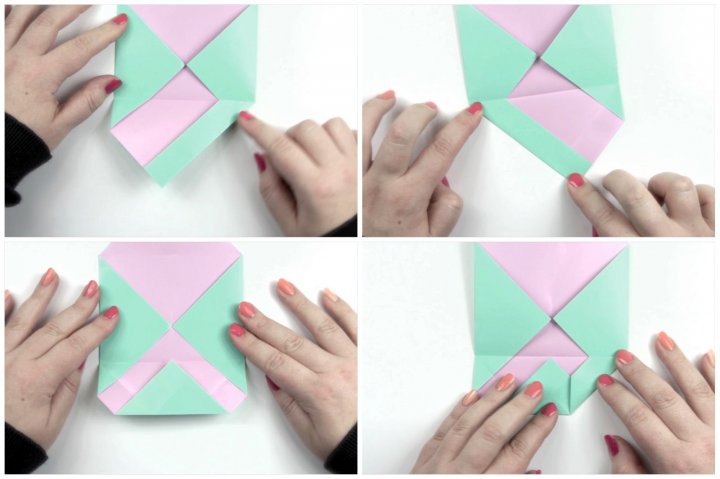
Origami is the art of folding paper. Traditional origami does not need any cutting and gluing. It is based entirely on your creativity where you can create with a simple sheet of paper. Mastering this art involves hand and eye coordination. We have to visualize the things in 3D for folding the paper to get a creative design for an envelope.
There are varieties of patterns to fold and types of cutting to create an envelope. There are many fold patterns such as interlocking, three type folding, four type folding and much more. These creative patterns ensure your envelope is attractive and good for gifting.
Try These Easy Envelope Designs for Card
Designer Gift Envelope
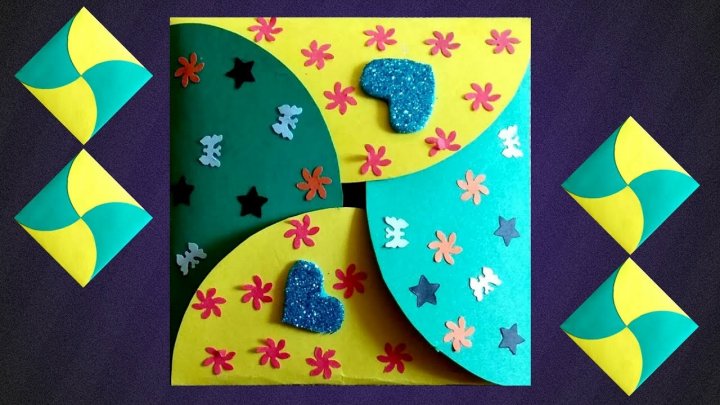
The designer envelope is used for gifting purpose. We can use this envelope to place the cards inside when we are gifting our beloved ones.
For making a designer gift envelope, we need the following things:
- Cardstock paper
- Color paper
- Rhinestones
- Scissors
- Pencil
- Scale
- Glue
- Scoring Tool
Instructions:
- Take a cardstock paper which you are going to use for making an envelope.
- Place the scale on the cardstock paper, mark 2 cm from both the ends to make sure that the width is 19 cm.
- Depth of the card is about 17 cm. Mark 19 cm as width and mark 2 cm on both sides.
- Draw a line connecting all the marked points. Take a scissor and cut the marked outer layer.
- Mark 3 cm from the top and 6 cm from the bottom on both the sides and connect them.
- Mark 0.5 cm from the inner line from top and bottom of both the sides and connect it to the inner line.
- Mark 0.5 cm from the bottom and 2cm from the top line and connect the marked points to the inner line points.
- Using scissors, cut the outer lines drawn and round the edges.
- Score on the lines drawn using a scoring tool and fold the paper.
- Take a color paper and cut the paper with 2 cm as width.
- Glue the paper and paste it on the envelope and glue the corner of the envelope to stick it together by leaving the top open.
- Decorate the front part of the color paper on the envelope using rhinestones.
- Your designer gift envelope is ready for your card.
Colourful Origami Envelope
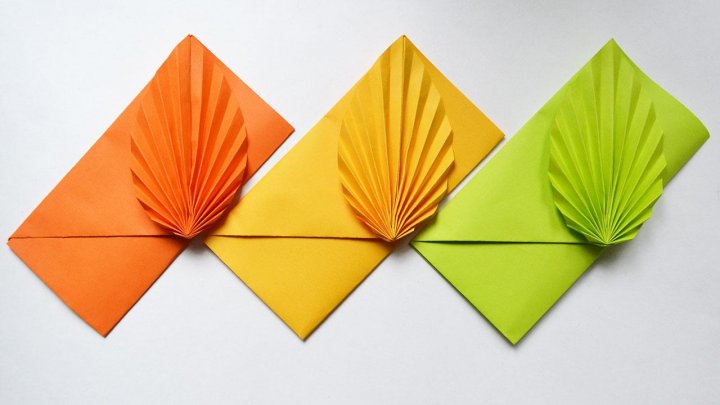
Origami envelope is used for storing gift coupons or letters. For making this, we need only A4 paper. Origami is a paper folding art form that originated in Japan. The origami technique involves folding colorful papers to create patterns such as animals, plants, birds etc. The folding technique involves creation of designs without using any scissors.
Instructions:
- Fold the paper diagonally on the vertical axis. Crease it and unfold the paper.
- Fold the paper half in a vertical manner. Again fold the paper diagonally to meet the center of the vertical fold.
- Again fold it diagonally to reach the middle of the folded one.
- Fold the paper three times to make it a thin strap.
- Unfold all the sides and make the fold again in the opposite manner to make a thin strap. Crease it and unfold the paper.
- Fold the thin strip based on the unfold imprints of the paper.
- Now you can get the leaf type design on the top of the envelope.
- Fold the paper vertically upwards.
- Fold the paper horizontally upward
- Fold the leaf design down to give a classy touch for an envelope
- Now your origami envelope is ready.
Classic Envelope
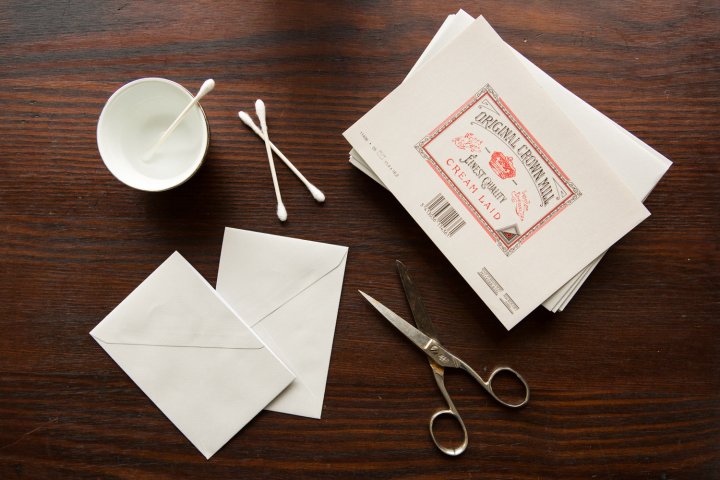
A classic envelope is a covering item for letter or cards. A classic envelope is very easy to make and never goes out of style. It is the most preferred type of envelope that is commonly used for official correspondence. It is made of thin materials such as paper or thin card. For making an envelope, you just need paper and glue.
Instructions:
- Fold both the sides of the paper horizontally and make sure that the folded ends should not touch each other.
- Fold the vertical sides of the paper and ensure that one end of the paper lays above the other end of the paper.
- Unfold the paper.
- Take a scissor and cut the corners of the unfolded paper which has the traces of the fold.
- Repeat step 1 and step 2 following the traces.
- Draw a diagonal line on the horizontal folds by reaching the end of the vertical fold.
- Take a scissor and cut the marked line.
- Fold the paper again and draw a 2 cm diagonal line on the vertical folds on both sides.
- Adjust the horizontal folds to an uneven triangle by trimming the edges using scissors.
- Using a scissor, cut the marked lines.
- Mark the center of the vertical folds and cut the sides to make it as a triangle.
- Glue all the sides of the folds except the upper triangle vertical fold.
- Stick all the folds and now your classic envelope is ready to carry your letters to the beloved.
Creative Envelope
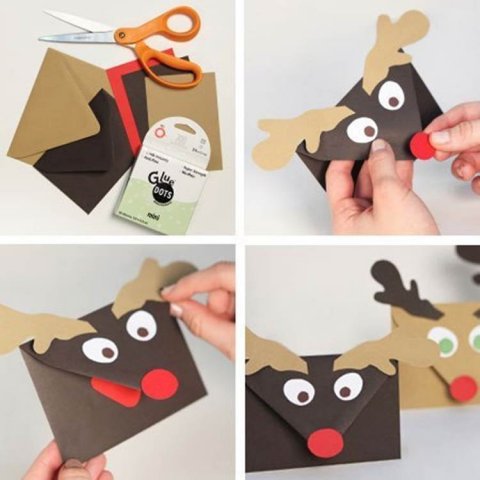
Creative envelope designs are the best way to surprise your near and dear ones. You can different creative envelope designs by choosing designs with illustrated characters, bright colors and abstract designs. You can also choose contrasting patterns, actionable objects, or personal photographs.
Materials Required:
- Quirky designs
- Glue
- Template
- Colors
- Scissors
Instructions:
- The envelope should be approximately 1/4″ larger in height and weight than the materials inside.
- Keep your envelope design within the size required for letter rate—between 3.5 – 6.125 inches high, 5 – 11.5 inches long, and 0.007 – 0.25 inches thick.
- Use contrasting colors on the front and back of your envelope to add interest.
- Choose typefaces that are clear, legible, and match the overall tone of your design.
- Highlight call to action (such as “Special Offer Inside”) and make it noticeable.
- To save space, you can also place the address on the envelope’s flap; this is a popular technique for wedding invitations.
- Leave one square inch of space in the upper right-hand corner of the envelope for postage.
Animal Envelope
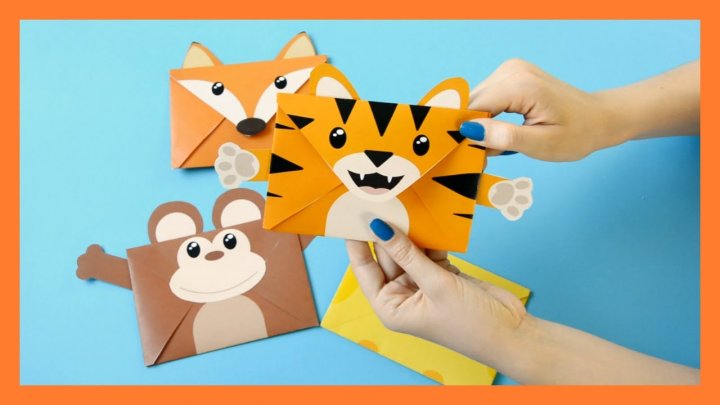
Creating an animal envelope is a fun loving session for kids. You can surprise children by gifting them colorful animal envelopes on their birthday or for any special occasions. You can print the animal’s picture or you can design your favorite animal on the envelope.
Materials Required:
- Square paper/chart
- Glue
- Scissors
- Sketch Pens
Instructions:
- Dimension of the paper is 24 cm X 18 cm
- Fold the paper in half and again unfold and fold the lower half just beneath the center line.
- Fold the upper half to rest on the folded lower half.
- Fold the quarter upper fold in the opposite direction.
- Fold both the sides in the opposite direction.
- Now unfold the corner of both the sides and fold it tilted. Now you can again fold the sides.
- Now you can see the kitty's ear like portion on the upper side of the envelope.
- Make a mini triangle on the upper side portion and fold the leftover inside.
- Glue the sides. Now your creative envelope is ready.
- For making kitten print, cut the white paper as a circle and color the lower portion in black color.
- Stick the eyeballs on the front side of the envelope.
- Draw the nose and mustache of the kitty in the appropriate region after sticking the eyeballs.
- You can customize the envelope by adding decorative items such as sequins, glitters or rhinestones.
Card Cum Envelope

This is also like an origami envelope with the envelope itself having the message. Rather than designing a separate envelope for storing your card, you can directly design an envelope that contains your message. The envelope’s resemble a postcard and can be preserved for a longer time. The postcard can be used for small messages or for best wishes.
Materials required:
- Paper
- Sketch pen for writing the message.
Instructions:
- Do a vertical fold of the paper to get to the middle section.
- Again fold the lower portion to make two separate triangles.
- Repeat step 2 for the upper portion also.
- Fold the portions of both the sides inside.
- Again fold the upper and lower portion inside in a triangle form.
- Write the message you want to send on the front side.
- Fold both the vertical sides outwards one over the other.
- Tuck in the upper portion of folds inside the lower portions.
- Now decorate the outer layer with your own message.
- You can view the message after pulling the paper outside. Now your card cum envelope is ready.
Box Envelope
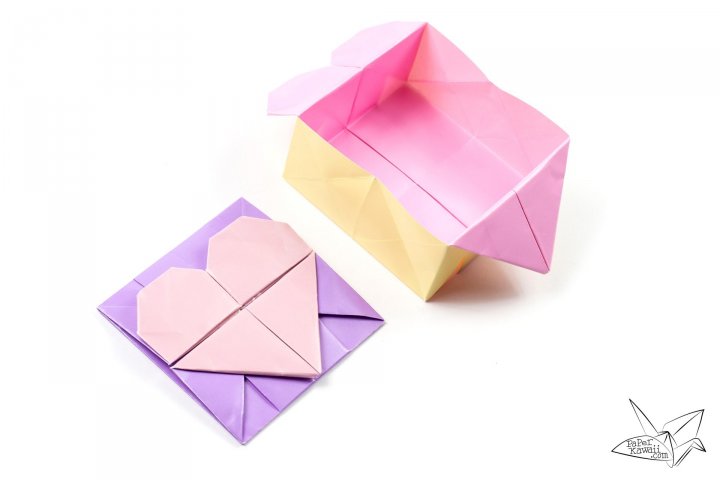
Box envelopes are designed to keep a little heavier gift items inside such as pieces of jewelry, trinkets, etc. It is made up of thicker material compared to other envelopes like cardboards or stiff fabrics. The box envelopes can are decorated elaborately, making them perfect for special occasions.
Materials Required:
- Cardboards or Stiff fabrics
- Ribbons, glitters, and colorful rhinestones for decoration
Instructions:
- Fold the paper diagonally on both the sides to get the center line.
- Fold the corners into the center.
- Fold the top and bottom to the center, crease it and unfold.
- Repeat step 3 for the left and right sides
- Unfold the top and bottom section and fold the bottom again. Do the same for the top sections.
- Open the left and right side portion.
- Fold the right over to the left, along with the second vertical center crease from the left.
- Push the horizontal bottom left corner, and do squash fold.
- Repeat step 8 for the top right corner.
- Fold the center back to the right to meet the left corner.
- Repeat step 10 for the bottom right to the top left.
- Open the envelope and unfold the top and bottom edges.
- Flatten edges and the whole thing.
- Fold the right triangle to the right and vice versa.
- Your box envelope is ready for gifting.
Envelopes Using Different Materials
Fabric Envelope
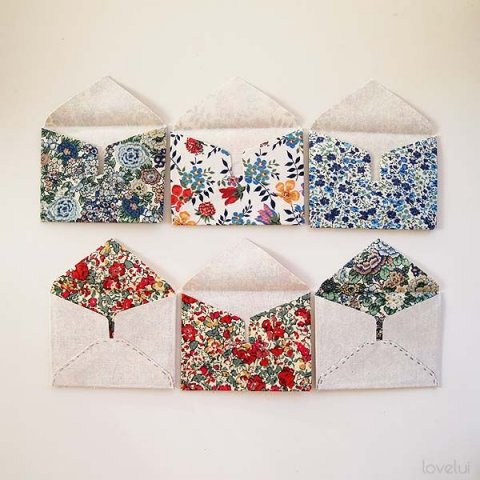
Fabric envelopes can be used for personal use such as storing your assignments, papers, and stationery. It is easy to make and we can carry it with us when we are going out, for storing cash.
Materials Required:
- Peltex (Heavy weight)
- Polyester fabric
- Sewing Machine
- Button
- Scissor
- Needle
- Thread
Instructions:
- Cut 1 peltex at 6.75"X10.5".
- Fold it to the center and mark 3" down.
- Use a scissor to cut over the edge to give a shape.
- Keep peltex on the fabric to match the template.
- Keep peltex in between the fabric.
- Iron one side of the fabric to get the stiff structure.
- Shape the edges to remove the debris.
- In a sewing machine, stitch the center of the fabric.
- Attach the sides using a sewing machine, Keep all the stitches inside.
- Stitch the button using needle and thread.
- Now your handy purse is ready.
Plastic Envelope
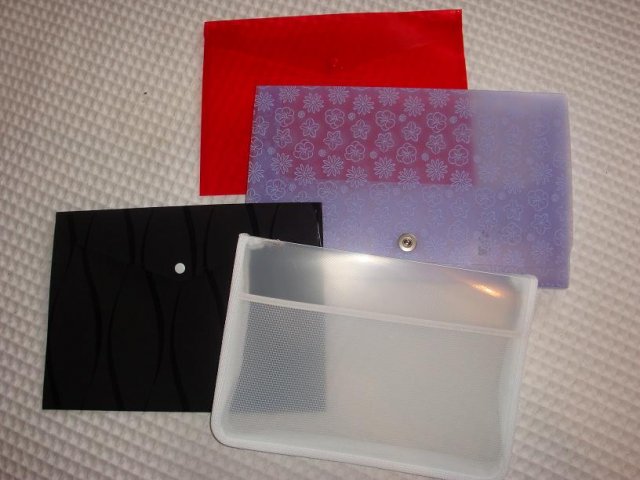
The plastic envelope can be used as a cover for storing valuable items such as documents, files and cash.
Materials Required:
- Plastic sheet
- Marker
- Punching machine
- Scissors
Instructions:
- Measure the size and cut it using scissors.
- Make sure that one side of the cover is closed.
- Using marker, mark the closed side for punching the dots.
- Cut the open side in triangle form to keep the files inside.
- Using a punching machine, punch the dots and place it in the file folder.
- Your plastic envelope is ready to use.
Woven Magazine Envelope
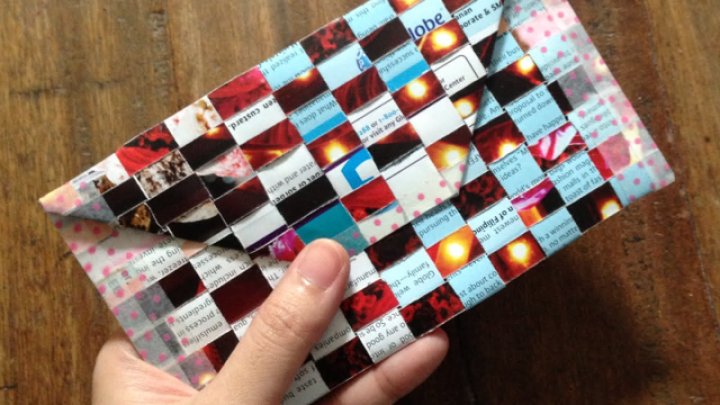
You can create an envelope using old magazines. It is eco-friendly and fits easily into the budget.
Materials Required:
- Old magazines
- Cutter or scissors
- Adhesive tape
Instructions:
- Select two magazine covers. Contrast covers are better to use.
- Cut the pages into strips to fold. Wider stripes are easy to use.
- Arrange the strips one by one and seal the top with the adhesive tape.
- Weave the strips one after another.
- Now the strips looks interlined together.
- Seal the edges with the adhesive tape.
- Stick the tape inside which are facing outside.
- Trim the excessive from the edges.
- Fold your woven envelope about 1/3 through.
- Fold the corners to make the flap.
- Your thick eco-friendly envelope is ready to use.
-
 10 Best Gifts for Boyfriend and a Complete Guide for Selecting Gifts That Will Not Only Surprise and Impress, but Knock His Socks Off! (2019)
-
 What If You Can Make an Exclusive Designer Dress by Re-Using Your Old Saree(2020)? Create Magic by Transforming Sarees into Lehenga Using Our Craft Ideas and Be Proud of Yourself!
-
 Great Birthday Gifts for Him are Hard to Come By! Use Our Ideas to Find the Perfect Gift Each Time & 10 Super Gifts for Boyfriend on Birthday (2019)
-
 Wedding Gifts for Couples in India: 11 Traditional, Modern and Creative Gifts to Fit Every Kind of Budget (2019)
-
 Go the Extra Mile this Mother's Day: Thoughtful Gift Ideas for Mother's Day in 2019
Give a Personal Touch to Your Message in 2019 with These Easy-To-Make Envelope Designs
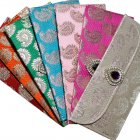
A personal touch adds a charm to your card. So, be it an invitation, a birthday wish, or even an apology, a personalised envelope will convey the message more clearly and with added emotions. Hence, get creative and try out these envelope designs and send your message, with style.





 Highlight the Best Facets of Your Incomparable Beauty: Discover the Best Face Highlighter Currently Available in India and Everything You Need to Know About Using Face Highlighters for Maximum Effect (2023)
 Forget the Blemishes and Get that Picture Perfect Flawless Radiance on Your Face: Check out the Best Foundations for Oily Skin Currently Available in India and Everything You Need to Know About Makeup Foundations (2023)
 Make Your Presence Felt Wherever You Go: Discover the Best Perfumes Under 2000 for Both Men and Women to Announce Your Arrival and Make Any Occasion Memorable (2023)
 Protect Your Oily Skin from the Harmful Rays of the Sun: Discover the Best Gel Based Sunscreens for Oily Skin and Everything You Need to Know Before Buying One (2023)
 Minor Blemishes and Wrinkles Affecting Your Confidence? Check out the Best BB Creams to Conceal Your Worries and Nourish Your Skin to Restore the Healthy, Radiant and Glowing Complexion Back Again (2023)
