-
 What is Saree Kuchu and How to Find the Perfect Saree Kuchu. 10 Must-Have Designs and Why You Should Use Them (2020)
-
 Do You Know How Easy it is to Make an Envelope? Learn How to Make an Envelope in 4 Different Ways, What Paper to Use and Decoration Tips (2020)
-
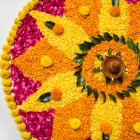 10 Exquisite Pongal Rangoli Designs to Celebrate the Harvest Festival With and Why You Should Practice This Ancient Art (2020)
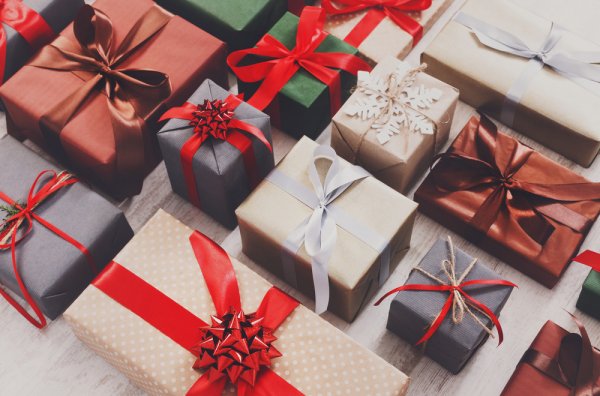
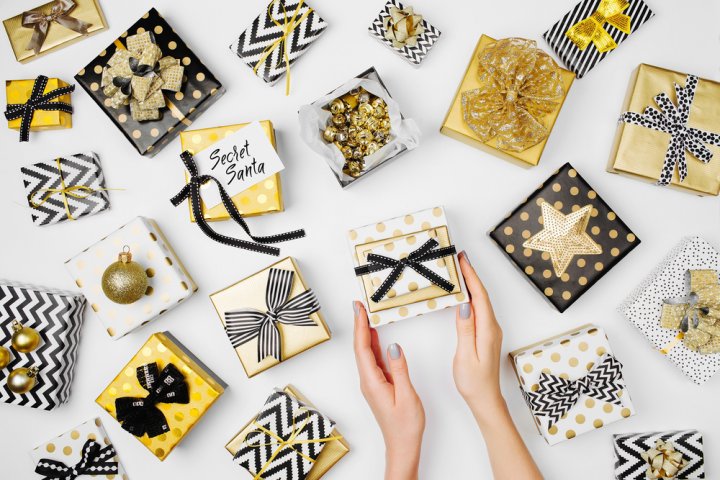
Make Your Gift Look Amazing and the Receiver Stunned
Everyone loves to receive gifts. A gift strikes a chord in the heart of the receiver and shows how much the giver values the one being gifted. Well, beyond the giving of the gifts, another important thing to note is how the gift will be packaged. A gift presented in a most unlikely package can reduce the value and worth of the gift.
How about you make a gift box yourself? A personalised gift box will wow and stun the one you are giving the gift to. Imagine the faces of the friend or colleague receiving the gift when you tell them you made the gift yourself. You have to give it a try and you will definitely be proud of yourself, so will the receiver of the gifts.
Why Make Gift Boxes When You Can Buy Them?
It is Easy
Rather than going through the stress of visiting the mall and looking for a gift box or pack and not getting exactly what you want or that which expresses what you want to say, you can actually make what you have in mind yourself by using cardboards or using the printable gift box template. The handmade gifts box are very easy to make, all you need to do is to follow the steps and guidelines in making the gift boxes. This gift boxes come in very handy for any situation.
It is Cheap
Making a gift box yourself will not only save you some extra cash for the moment but also for a long time to come owing to the fact that from just few materials you can get as many gift boxes as you want. The printable templates can be gotten online and all that is expected is just to print out the template and fold into the shape and size that you like. You can make inexpensive gift boxes or expensive gift boxes depending on your budget. You can find many inexpensive items for use in making your gift boxes.
It Carries Your Personal Touch
People love to receive handmade gift boxes. Not only will the receiver appreciate it because of the time and effort you put into making it, but also because it bears your personal touch and shows your warmth, emotions and feelings which your words cannot express. Guess what? You can easily customise each gift box to its individual recipient. Just take a minute and imagine the expression on their faces when they see you’ve made a gift box personalised for them!
11 Gorgeous Gift Boxes and How to Make them: It Will Only Take a Few Minutes to Make These Beauties
The Wine Gift Box
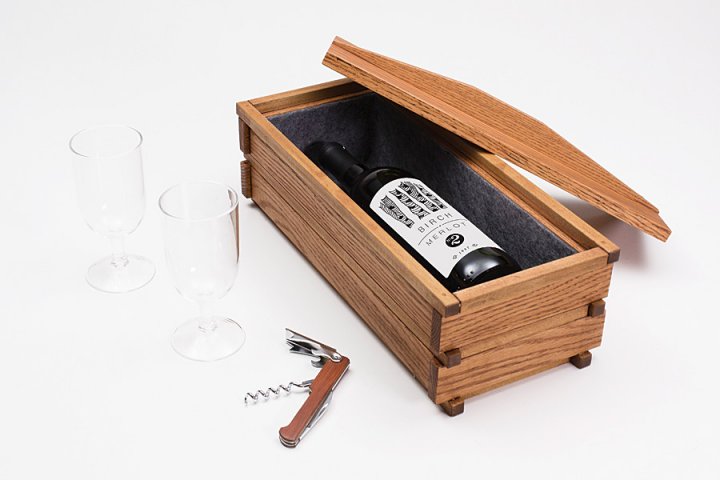
Buying a gourmet wine gift basket can be expensive. Well, instead of buying one, you can actually go ahead to make one yourself. You can easily make a beautiful, custom, personalized wine gift box cheaply and present a one of a kind gift box that might be more valued than the item it contains.
Wine Gift Box
Materials and tools needed:- Quarter Sheet
- Hardboard Square Dowel
- Round Dowel
- Double-Faced Tape
- Fine-Tip Felt Marker
- Plastic Packaging Tape
- Wood Glue
- Utility Knife
- Tape Measure
- Sanding Block
- Bosch Sander
- Ridgid Miter Saw
- Jigsaw
- Drill (cordless)
- Hammer and Kreg Clamps
How to make (follow the steps in the video):
- Cut side and end parts to length then cut the assembly jig parts. Make the end assembly jig. Make the side assembly jig. Assemble the ends then assemble the sides. Assemble the box. Pin the corners. Insert the bottom. Form the handle. Make the lid and apply the finish and felt.
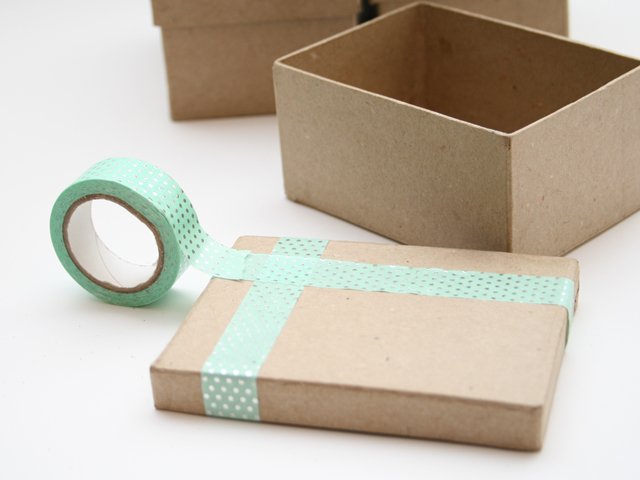
Gift Box with Lid
This design works best with thin card, about the same thickness as a greeting card. In fact, you can even make the apparel gift box out of last year’s Christmas cards. To see pictures on how to make gifts boxes with lid you can visit homemade-gifts-made-easy.com.
- Mid-Light paper of any colour you like
- Scissors and a glue stick
How to make the lower part of the box:
- Start with a square piece of paper, nice side facing down. Make a small crease in the centre of each side. We like to mark each crease lightly with a pencil too. Fold all four corners to the centre, using the creases from the previous step as guides. Fold and unfold each side to the centre. Unfold everything. You will have the pattern of creases shown here. Cut along the bolded lines. Fold top and bottom corners to the centre. Fold flaps up along the dotted lines so that they point straight up toward you. Fold top and bottom edges so that they point up toward you. It should look like this. Now fold the flaps on the left and right into the centre.
How to make the lid:
- Then unfold until your paper looks like this. Finally, fold the top and bottom edges to the centre, as shown by the dotted lines here. Fold and unfold along the dotted lines shown here. Completely unfold the paper. You will have a pattern of creases like this. Cut along the folded lines. Fold the top and bottom corners to the centre. Fold along the dotted lines shown here. The rest of the folding is the same as step 6 and onward of the base instructions and fold the flaps up to face you.
The Favour Gift Box
The favour box is a special kind of gift box that is attractive and beautiful. Get a variety of printable templates for favour boxes from helmettown.com.
- A printer
- A printable template for the favour box
- Letter tick paper to print the top of favour box
- Simple thick paper on any colour you like
- Scissors
- Glue stick
- A scoring tool (optional)
How to make a Favour Gift Box:
- Print the Favour Box Printable: Print your top favour box and prepare the box flaps. Cut on the straight lines and fold on the dotted lines as shown. The bottom of the favour box should be folded at each 2 inches and put the glue and then glue the extra flaps.
The Attractive Pie Wedge Gift Box
This pie box shape is ideal for using to present a piece of cake at the end of a party or for using as a gift box for a few candies or other small items. This box is ideal for party favours and will make unusual gift packaging. There is a ready-made template for making the Pie Wedge Box on thesprucecrafts,com and this template has a flap that tucks in to close the box. The flap can be glued shut to seal up the gift within it.
- A printer
- A printable template for the Pie Wedge Gift box
- Letter tick paper to print the top Pie Wedge Gift Box
- Simple thick paper on any colour you like
- Scissors and a glue stick
How to make:
- Print the template onto scrap paper and transfer this to a piece of cardstock, Cut around the template and score along the fold lines, this will give a good crisp edge. Stamp and decorate the paper as required and glue the edges together and add further embellishments as desired.
The Jewellery Box

Jewellery boxes are special to most ladies and women. Jewellery boxes can actually be gotten from the malls or stores but making a jewelry box for yourself or a friend increases and makes its value higher and you will find out you actually saved some money. See the step-by-step pictures on diyprojects.com.
- Cardboard, thickness 0.5 cm
- Decorative paper
- Stick glue
- Cold silicon glue
- Pencil and ruler
- Adhesive tape paper
- 5 Beads, and
- Felt or flannel
How to make:
- Mark a line 3.5cm in both sides and start making the base, then assemble the base of the box. Stick adhesive paper tape to strengthen unions, Cover the base of the shelf with felt then attach the shelf above the line was drawn. Stick adhesive paper tape to strengthen unions. Next, assemble the drawer and glue felt to the bottom then decorate the cover with paper and glue biggest piece of paper in the external side. Glue the excess paper to the box. Finally, decorate the box with decorative paper and glue a bead to the drawer front as drawer pulls.
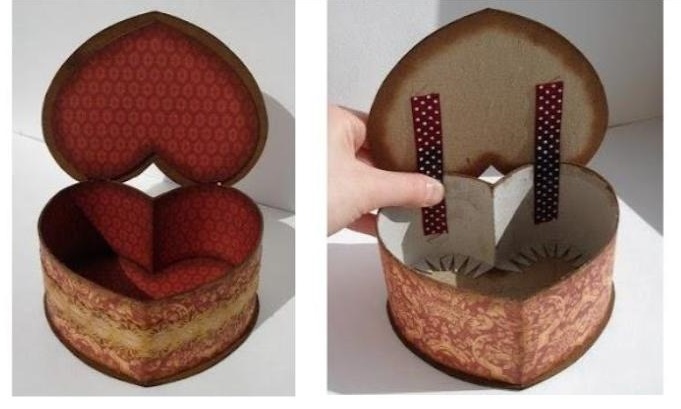
The Heart Shaped Box
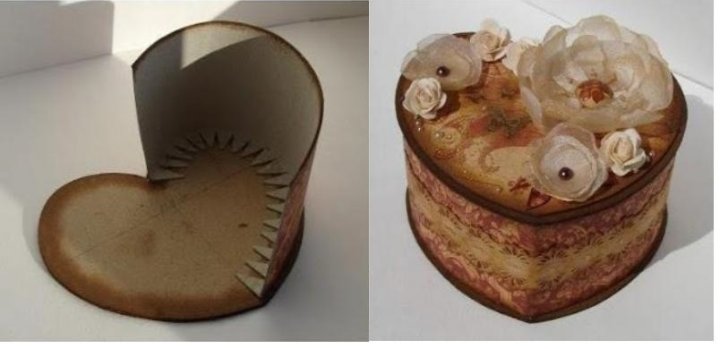
Make this heart shaped gift box for Valentine's Day, weddings or simply to show someone that you love them! A heart shaped cardboard box is a great way to have fun. You can really use this box for a lot of different things. You may need about 20 minutes to make this box and then you can use it for your jewelry or other items. See step-by-step images at fabdiy.com.
DIY Heart Shaped Box
Tools:- Scissors
- Template
- Glue and paper
- A printer
- Letter tick paper to print Heart Shaped Gift Box
- Simple thick paper on any colour you like
How to make:
- Print the template onto scrap paper and transfer this to a piece of cardstock, Cut around the template and score along the fold lines, this will give a good crisp edge. Stamp and decorate the paper as required and glue the edges together and add further embellishments as desired.
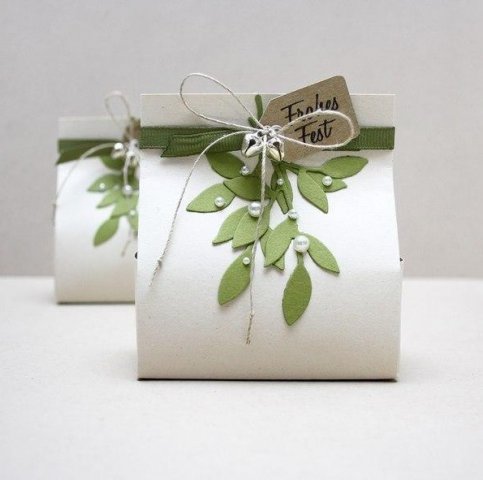
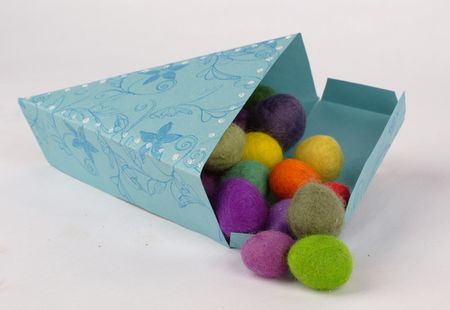
The Versatile Pillow Gift Box
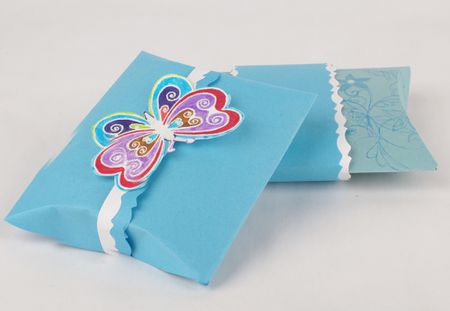
Pillow boxes are a flexible and versatile form of gift packaging. Pillow boxes are quick, fast, easy and simple to make and these pillow gift boxes are an extremely beautiful and attractive packaging for most gift items. After making the pillow gift box you can either leave it plain or jazz the pillow box up by wrapping a ribbon around the middle.
- A printer
- A printable template for the Pillow Gift Box
- Letter tick paper to print the top Pillow Gift Box
- Simple thick paper on any colour you like
- Scissors and a glue stick
How to make the Pillow Box:
- Print the template onto scrap paper and transfer this to a piece of cardstock, Cut around the template and score along the fold lines, this will give a good crisp edge. Stamp and decorate the paper as required. Glue the edges of the pillow box together and tuck the two ends in to close the pillow box.
Tab Top Tote Bags and Tent Box
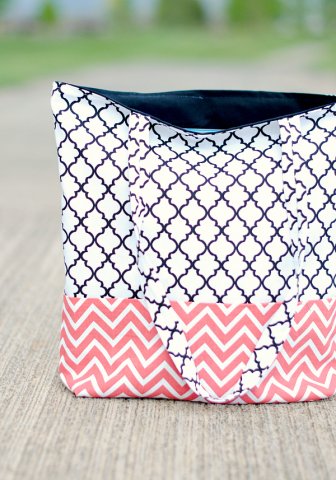
Tote boxes, box bags and tent bags are perfect for packaging small items or treats. The products differ slightly from one another but serve the same general purpose. Watch the tutorial video on crazylittleprojects.com and follow the steps below.
- Fabric-Canvas or duck. You need about 1/3 yard of your bottom fabric and about 1/2 yard each of the top and inner fabrics
- Fusible fleece interfacing (optional) to line the straps. You will only need about 1/4 yard for this.
How to make:
- Place top fabric on the bottom fabric with right sides together and sew them together. Do this for both pieces and then iron the seam flat. With one of your pieces that you just sewed, place it on your inner fabric and use it as a guide to cut out the inner fabric to match what you just created. Cut 2 of your inner fabric. Sew the two inner pieces together around both sides and the bottom with right sides facing.
- Sew both of your outer pieces together around both sides and the bottom with right sides facing. Create box corners on these by grabbing the bottom corner of the bag and turn it. Sew a seam across the top tip of that triangle a few inches down from the tip. Then snip off that tip. Do this with both outer corners and both inner corners.
- Turn your inner fabric right side out but leave your outer fabric inside out. Put the inner bag down inside the outer bag. Slide your straps inside the bag in between the two fabrics, making sure that the seam on the back of the fabric is facing the inside of the bag and pin everything in place like this so that the fabric is even all the way around and the strap ends are between your inner and outer layers of fabric on both sides and have the ends poking out slightly.
- Sew all the way around the top of the bag leaving a 4-inch opening to turn it. *Make sure that opening is not where a strap is. You need to get those sewn in place. Turn bag right side out and tuck inside into outside.
- Press the whole bag. Fold the opening in and press that as well so that it looks just the same as the part that was sewn. Top stitch all the way around the top of the bag. This will also close your opening. Set these aside while we make the straps. Take your long pieces and fold them in half the long way with right sides together and sew up the long side.
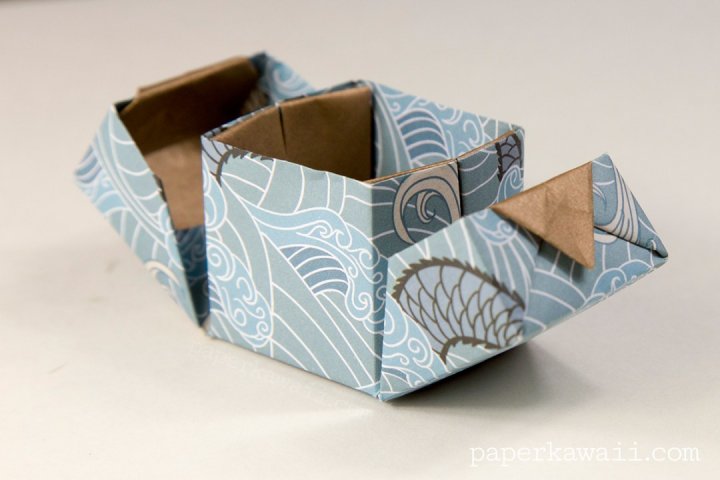
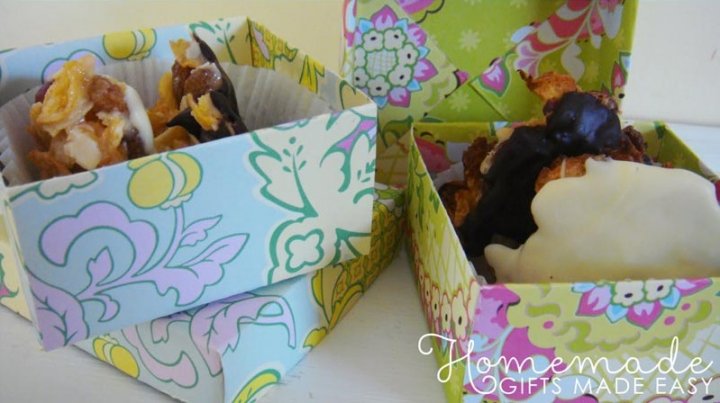
Folded Paper Tray Gift Box
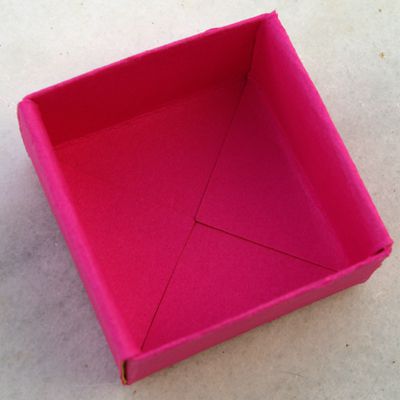
The folded paper tray or gift basket is perfect for presenting a wide range of gifts. This would work particularly well as a way of presenting handmade food gifts such as handmade candies or cookies. It will be a great way to present bath time treats. Follow the step-by-step images on thesprucecrafts.com.
The template is available in two sizes. The stitching is a great way to add an attractive handmade finish to the basket.
- A printer
- A printable template for the Folded Paper Tray Gift Box
- Letter tick paper to print template
- Simple thick paper on any colour you like
- Scissors and a glue stick.
How to make:
- Print one of the templates onto scrap paper and transfer to a piece of cardstock, Cut around the template and score along the fold lines, this will give a good crisp edge. Stamp and decorate the paper as required. Depending on your chosen method for constructing the tray, either pierce holes for the stitching using the guidelines on the template or in another position if preferred and stitch the edges of the box together, or, if you are using the template with flaps, glue the flaps together to form the tray.
Peekaboo Gift Box
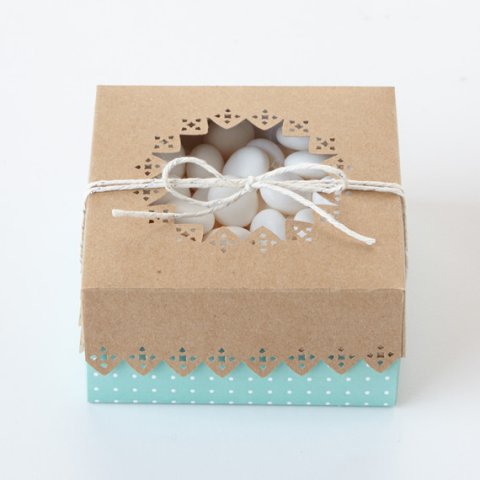
This basket will adapt to a wide variety of other occasions and can hold a range of gifts. For images to guide to you with each step, visit splitcoaststampers.com.
- One piece 4” x 9 1/2”
- Cardstock or patterned paper
- Scoring tool
- Strong adhesive
- 1 3/8” Circle Punch
- Cutting Mat
- Hobby Blade
- Ruler
- Scissors
- Medium Window Sheet
How to make:
- Turn the cardstock so that the 9 1/2” length is at the top of the Scor-Pal. Keeping the 9 1/2” length along the top of the score tool, shift the cardstock to the 15/16” mark (between the 7/8” and 1” mark) and score at 8” and 10”.
- Keep your cardstock oriented as it was in step three, cut away the pieces along the score lines as shown. The solid lines indicate additional places to cut. The tab on the far right side is ¾” long. Angle cut each of the four tabs. The blue arrow is pointing to one of the four tabs.
- Cut a centered, 1” slot with a hobby blade on the second score line from the left. Punch a 1 3/8” centered circle in the second segment from the left.Flip the cardstock over to the back side. Apply adhesive around the circular hole as shown.
- Next, flip the cardstock over to the front side. Apply adhesive on the four tabs as shown. Flip the cardstock over to the back side and bend the cardstock inwards along score lines.
- Remove the adhesive liner from the four tabs and assemble the bottom of the box. Tuck in the circular window piece. Close the lid of the box by slipping the tab into the slot. Embellish your box as desired and fill with a little gift or a sweet treat.
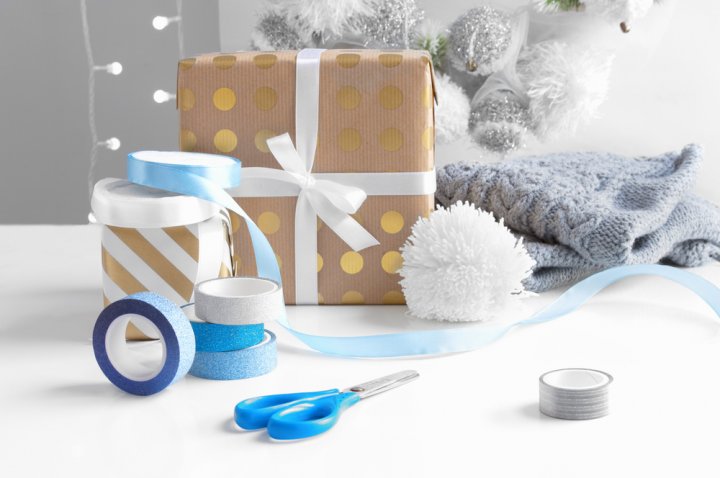
Make Them More Beautiful by Adding Stickers and Embellishments
You can some beautiful stickers to paste on the gift boxes you made. Aside from the stickers, you can also attach some paper chains or some decorative gift tags or rubber stamped embellishments. Decorate and customize the gift boxes you have made with rubber stamps and other embellishments.
Don't Miss Out on the Fun of Making Gift Boxes
No matter which type of material you decide upon, it is a good idea to practice first using scrap paper before moving onto good quality paper or cardstock. Some things look really hard until you give them try. A gift box is one of them, try one of the gift boxes above as the yuletide season approaches and you will see how much fun it is.
-
 Looking for the Most Incredible Gift Wrap Ideas to Take Your Gifts to the Next Level? We Give You 10 Easy and Pocket Friendly Ideas of Gift Wrapping
-
 Why You Must Gift a Plant: 15 Plants to Buy Online + The Benefits of Plants at Home and 4 Tips on How to Buy Them
-
 Can't Find the Perfect Present Present for Your friend's Housewarming Party? 7 Home Decor Gifts You Can Buy Online + 3 DIY Gifts If You Want to Gift Something Personalised! (2021)
-
 Know All About Gift Boxes with Paper: Top 10 Paper Gift Boxes to Pack Your Gifts in And 3 Ways to Make It Extra Special!
-
 Tips on Gift Wrapping and How to Achieve the Perfect Finish: 10 Quirky and Time Saving Gift Wrapping Ideas to Embellish Your Presents
Take a simple box and decorate it
If you cannot find a suitable DIY tutorial for a large gift box or one that can accommodate a heavy or fragile gift, use an empty box and decorate it. Shoe boxes, empty cartons and packaging material can be turned into beautiful gift boxes without looking like something you recycled. Line the insides with felt or a decorative paper as well too give it a clean finish and pay attention to the small details.
 Highlight the Best Facets of Your Incomparable Beauty: Discover the Best Face Highlighter Currently Available in India and Everything You Need to Know About Using Face Highlighters for Maximum Effect (2023)
 Forget the Blemishes and Get that Picture Perfect Flawless Radiance on Your Face: Check out the Best Foundations for Oily Skin Currently Available in India and Everything You Need to Know About Makeup Foundations (2023)
 Make Your Presence Felt Wherever You Go: Discover the Best Perfumes Under 2000 for Both Men and Women to Announce Your Arrival and Make Any Occasion Memorable (2023)
 Protect Your Oily Skin from the Harmful Rays of the Sun: Discover the Best Gel Based Sunscreens for Oily Skin and Everything You Need to Know Before Buying One (2023)
 Minor Blemishes and Wrinkles Affecting Your Confidence? Check out the Best BB Creams to Conceal Your Worries and Nourish Your Skin to Restore the Healthy, Radiant and Glowing Complexion Back Again (2023)