Why You Need to Make an Envelope
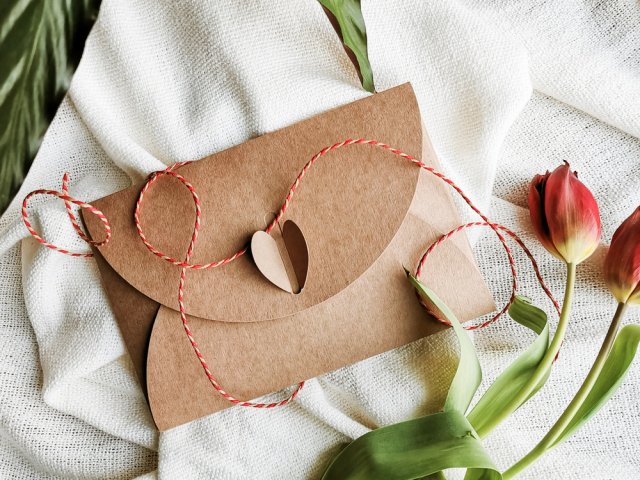
Now you might wonder why you should go on to make an envelope when you can easily buy one at the stores. However, you should not miss the fact that making envelopes is really easy and doesn't take much of your time. In addition, you can make them in under 1 minute if you learn how to do so. Besides, when you make yourself an envelope, you can easily personalise it the way you want to. Handmade and personalised items often have more importance than the ones you buy from the stores.
These envelopes have a personal touch that would not be available in the ready-made ones. When making your own envelopes, you can decide on the colour, pattern, texture, and other elements to make them more interesting and appealing. Making envelopes is really handy when you run out of them at home. Simply grab a decent paper and make envelopes to save your day. You can also mail these amazing looking envelopes and be rest assured that they will reach their destination.
How to Make an Envelope in Less Than a Minute
#1: Regular Shaped Envelope
- Step 1: If you have a greeting card for which you need an envelope, make sure that the envelope is wider than the card. You can use literally any decent paper to make the envelope. Either go for a plain and simple colour or if you have any textured paper, you can use that as well. Also, you can make use of wrapping paper to turn them into really attractive pieces of envelopes.
- Step 2: Place the card at the bottom of the paper and then fold the paper so that it covers the edges. Make sure the sides are secured well.
- Step 3: Fold the paper up. Ensure the card is still in place and fold upwards.
- Step 4: Next, fold the top two corners. Fold in such a way that it reaches all the way to the bottom similar to the last step.
- Step 5: Then, fold down the flap to close the envelope.
- Step 6: You can use glue to hold the flap down.
If you plan on mailing the card, then it is best that you secure it firmly so that the contents are safe and sound. You can write a cute message on the front portion of the envelope. This hack works just about every time. The next time you are in a hurry and running short of envelopes, try making one on your own. It's simple, easy, and worth all the effort. The next method shows you how to make an easy origami envelope. This envelope is much more secure and does not require you to use glue. You can always add your own touch and give variations to this envelope.
#2: Pouch Envelope
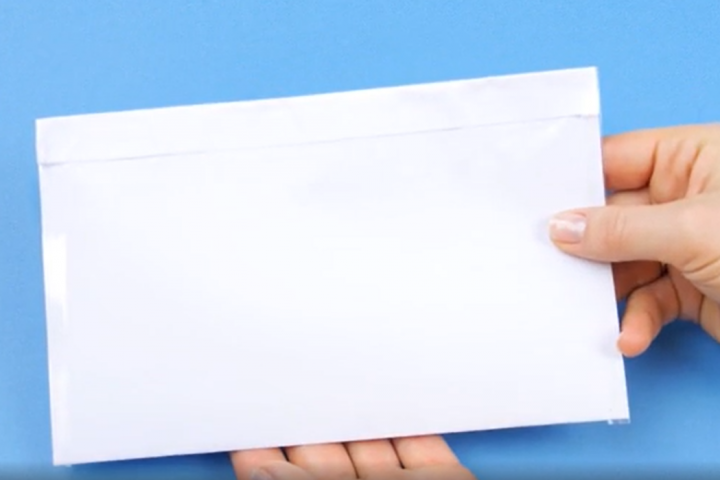
- Step 1: For making this type of an envelope, you need to get a paper that is almost twice the size of the desired envelope that you want. If you are in doubt, start by using a standard size. If you feel it is too large, you can always cut it into a smaller size.
- Step 2: Fold the paper into two. You should get a rectangle that is half the size of the original piece of paper.
- Step 3: The next step requires you to secure the two open ends of the envelope using a tape. Close the open edges on both sides and secure them keeping the top portion open. The top portion is where you will put in the letter.
- Step 4: Fold the top portion down to make a flap. This flap will keep the letter safe and will not let it drop away. You can make a flap that is about ½ of an inch.
- Step 5: Open the flap back and put in your card, letter, or other contents. Fold back the flap after you are done with this step.
- Step 6: Apply glue to secure the flap. Put a little bit of glue in the inner side of the flap to keep your letter safe till the recipient opens the letter. You can also use some decorative stickers or tape to seal the opening of the envelope.
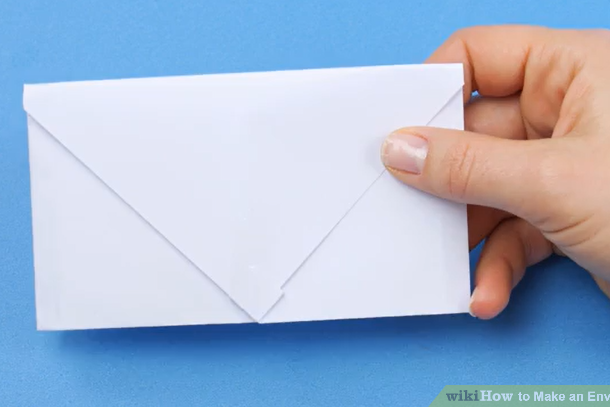
#3: Taped Envelope
- Step 1: Place a rectangular piece of paper in landscape style or lengthwise. You can choose between various sizes of paper and select the one that suits your needs. You can also choose a standard size of paper which is 8.5 x 11 inches.
- Step 2: Next you need to fold the paper lengthwise. Ensure that the edges are super straight and match the corners. Press the edge of the paper and use your fingers to make a crease. Then you can unfold the paper and you will notice the crease in the middle of the paper.
- Step 3: Fold the right top corner along the crease line. Once the top right corner matches the crease in the centre, you can fold the portion. This will give you a triangle in the top right corner.
- Step 4: Repeat the same step with the top left corner. Fold the left corner along the crease line. When the top left flap matches the crease in the centre, you can then fold the flap down. This will give you a triangle in the top left corner. Make sure to smooth out the paper to create perfect triangles.
- Step 5: You will now have two triangles sitting on a rectangular piece of paper. The next step involves you to fold 1 inch of paper towards the centre of the crease. You do not have to take any correct measurements here, so you can simply eyeball the fold. Both the bottom and the top edges should be folded inwards to the centre so as to leave enough space for a letter to comfortably fit in. Take about 1 inch on both sides. The paper should be placed lengthwise and the triangular portion of the paper should be towards the left.
- Step 6: Fold the right edge of the paper towards the bottom of the triangle. The portion of the folded triangle on the right-hand side of the paper should be parallel to the left-hand side. The triangle will be still visible. Make sure to smooth out the edges and then you can unfold the portion.
- Step 7: Fold the letter in such a way that it perfectly fits into the envelope. If it is too large, you can simply fold it twice or thrice to fit it in.
- Step 8: Place in your letter or message. Place the letter in the horizontal crease that you see in the envelope. Use the flaps around the envelope to seal the envelope and protect the letter.
- Step 9: Finally, you can now close the envelope. Fold the right edge of the paper to the edge of the triangle. Fold the triangular portion of the envelope towards the centre. Notice the back of the envelope is similar to the ones that you buy in the stores.
- Step 10: Tape the sides by using small pieces of tape to seal the edges. Also, tape the flap of the envelope.
#4: Square Origami Envelope
- Step 1: Get a square-shaped paper that is bigger than your letter or message. It is important to find the right size of paper so as to accurately fit the letter in the envelope. If the letter is too big, you can go to the store to find the paper that suits your needs.
- Step 2: Place the paper in a diamond shape. The corners should have their edges facing the top, bottom, left and right.
- Step 3: Fold the paper from the left corner to the right corner or sideways. Next, you need to fold the top corner to the bottom corner. This will leave you with two creases or a cross in the centre.
- Step 4: Now fold the bottom corner to the middle crease. Make sure to crease the edge such that the paper lies flat.
- Step 5: Next, you need to fold the flat bottom of the corner to the middle crease. This will leave you with a triangular shape now. Make sure the outer edges are perfectly folded. Smooth out the folds such that the paper lies flat.
- Step 6: Fold the left side of the paper towards the centre. Fold the left portion of the triangle such that the point goes over the middle crease.
- Step 7: Similarly, fold the right side of the paper towards the centre. The right portion of the triangle should go over the middle crease.
- Step 8: Fold the edge of the right corner. The right corner does not line up perfectly. Hence, you can fold the overlapped point towards the back. This will create a small triangle.
- Step 9: Open the small triangle. Put your finger into the fold of the triangle. You will see that the triangle opens to a diamond shape. Flatten and spread the triangle. The diamond will now have a crease in the centre.
- Step 10: Place the top portion of the envelope in the small opening. Your envelope is now ready. You can then open the envelope to place your letter. You can also use glue or tape to seal the edges.
Types of Papers Used To Make an Envelope
There are different types of paper grades that are mainly used in making envelopes. Some of them are discussed below:
Wove:
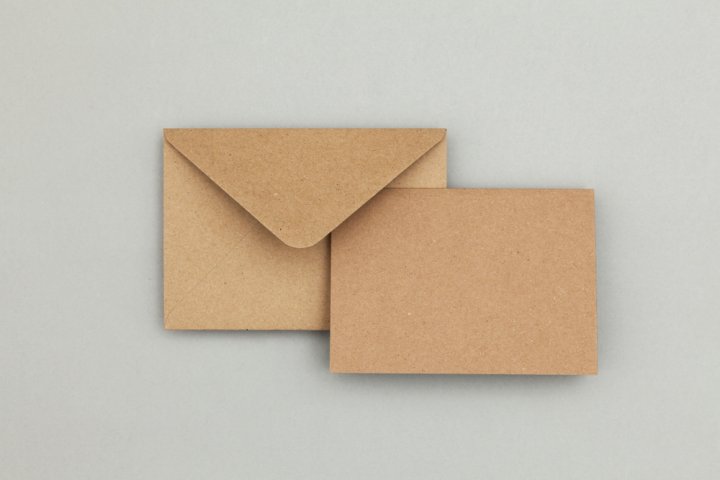
Wove has a smooth appearance, has short fibres, and prints well. In addition, it is also an economical option. It is available in many colours and weights. The original form of the material is known as Bright White paper which has a brightness level of up to 92. It is one of the most popular papers for direct mail and statement mailers alike.Kraft:
Kraft paper has longer fibres and is stronger than wove. It is generally seen in the brown stock. On the other hand, Kraft paper does not print well since it has long fibres. It would not be the ideal choice for complex graphics.Tear Resistant:
As the name goes, the paper is totally indestructible. The paper does not tear under typical conditions. In addition, it is also moisture and water-resistant.Recycled:
Are you looking to make a green envelope? You can simply use recycled paper which is an excellent way to improve sustainability.
Tips to Decorate the Envelope in Easy & Quick Ways
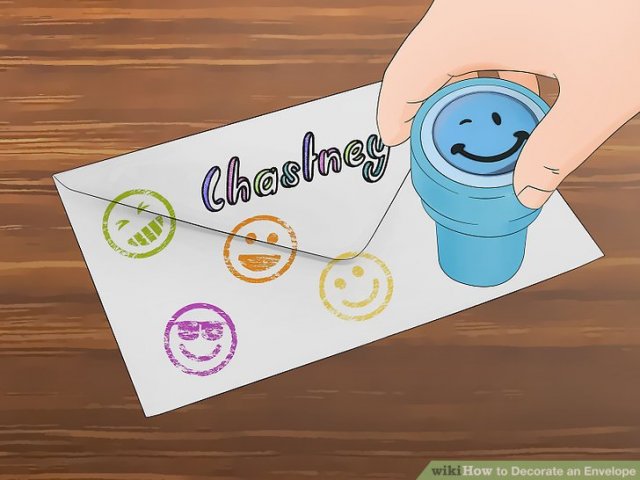
#1: Draw the Name of the Recipient with Attractive Colours
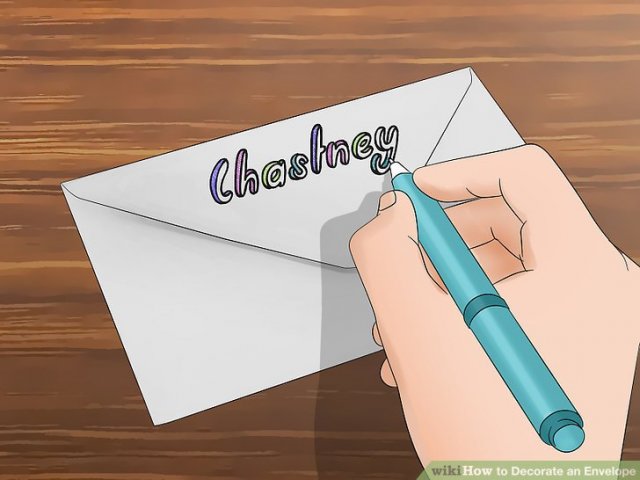
This can be a totally unique and attractive way to grab the attention of the recipient. In addition, the receiver will also feel happy seeing their name written in an attractive way. You can use sketch pens, crayons, coloured pencils, or even permanent markers to write down the name. There are multiple ways you can design their name. For instance, if you know calligraphy, go ahead and write the receiver's name in that format. Besides, you could also try block lettering or bubble lettering which can be found online. You can get creative in a number of ways and make swirls and circles to decorate the envelope.
#2: Create a Catchy Border Around the Edges
The next trick to decorate the envelope is by creating beautiful catchy borders that will enhance the appeal of the envelope. You can use a normal pen or sketch pens to create the borders. Additionally, if you have decorative stickers or tapes, you can add that too. Open your creative side and explore more on how you can beautify the envelope. You can keep it simple by drawing swirls around the edges or even circles or hearts. You can look up online for more information on the same.
#3: Add a Personal Touch to the Envelope by Using Stickers
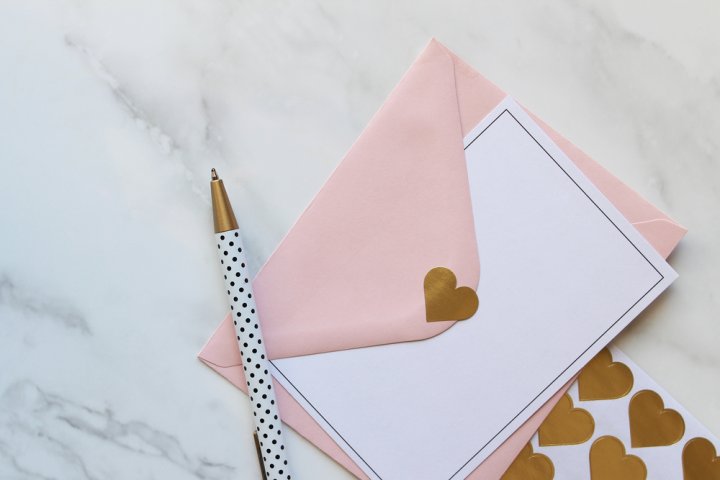
When an item is personalised, it feels all the more special. This is exactly what you can do with the envelope. Adding a personal touch will make the receiver feel special. Additionally, you can also display your love for them through these gestures. If you have any decorative stickers at home, you can add a personal touch by using them. There are a variety of stickers that are available for decoration. Think creative and showcase your skills. Make sure you don't crowd the entire envelope with stickers. Keep it simple yet attractive for the receiver.
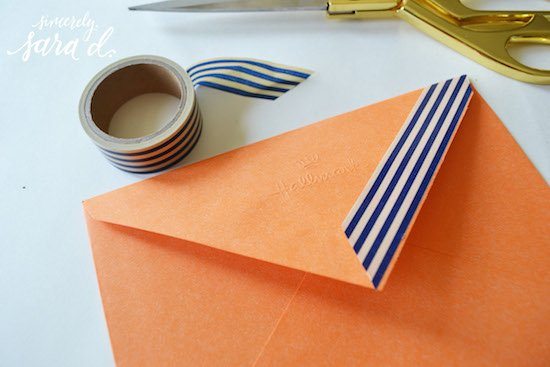
#4: Use Creative Stamps or Stencils to Easily Create Unique Designs
If you are an art lover, you might know there are various kinds of stencils available that have interesting designs on them. This is another way you can beautify the envelope and bring a smile on the receiver's face. In today's times, when messaging is normal, a personalised letter will surely bring a glow on the receiver's face. Hence, make sure you bring out your best on the envelope and use amazing stamps to enhance the beauty of the piece.
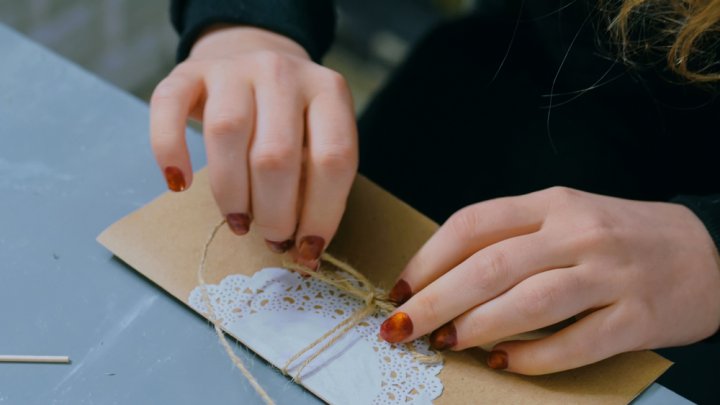
#5: Add Something Extra like Jewels, Buttons or a Beautiful Ribbon to Make it Look Like a Gift Box
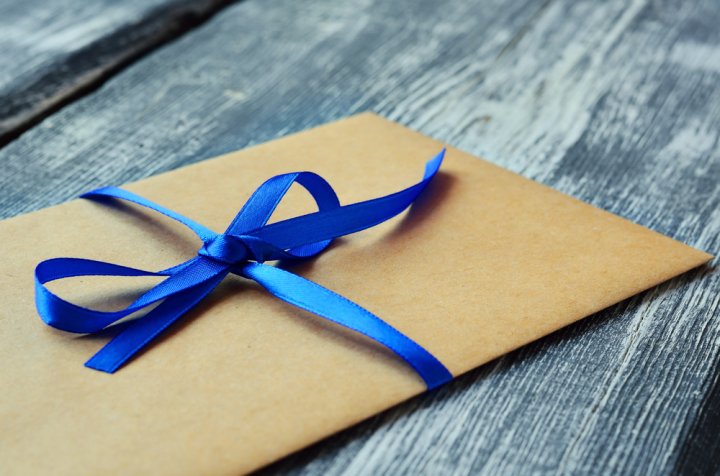
You can make your envelope look like a gift box by simply adding small items like buttons or pearls or jewels. It not only adds to the beauty of the piece but also makes the receiver happy. You can add a delicate ribbon on the envelope on all the four sides to make it look like a gift box. In addition, you can add some nice pearls or buttons on the ribbon to add glow to the envelope.
-
 Looking for the Perfect Gift for Your Male Teacher? 10 Awesome Gifts to Show Your Respect and Appreciation to the Teacher Who Inspires You (2019)
-
 The Pen is Mightier than the Sword: Here Are Best Pen Gift Options that Offer a Great, Smooth Line for All Types of Jobs (2020)
-
 10 Best Pen to Gift! : Whether for Beginners or Pen Enthusiasts, These are Our Absolute Favorite Pens at Every Budget. (2020)
-
 Put a Creative Spin to Your Cash Gifts, Try These 10 DIY Envelope Ideas to Add Magic to Any Card in 2020
-
 10 Useful and Practical Gifts to Give an Architect That May Just Inspire Their Next Great Design! And Other Creative Ideas to Impress Them in 2019
Handmade Envelope – A Great Way to Express Your Feelings
When you send a card, message or gift in a beautifully crafted handmade envelope it shows the extra effort you have put in making the envelope for the recipient and it is a great way of expressing your feelings. We hope this BP Guide would have helped you understand that making an envelope is extremely easy and you can do so without spending too much time on the activity. But the smile on your loved one's face when he receives your beautiful envelope will surely be priceless. Stay connected with us for more such engaging content.
 Highlight the Best Facets of Your Incomparable Beauty: Discover the Best Face Highlighter Currently Available in India and Everything You Need to Know About Using Face Highlighters for Maximum Effect (2023)
 Forget the Blemishes and Get that Picture Perfect Flawless Radiance on Your Face: Check out the Best Foundations for Oily Skin Currently Available in India and Everything You Need to Know About Makeup Foundations (2023)
 Make Your Presence Felt Wherever You Go: Discover the Best Perfumes Under 2000 for Both Men and Women to Announce Your Arrival and Make Any Occasion Memorable (2023)
 Protect Your Oily Skin from the Harmful Rays of the Sun: Discover the Best Gel Based Sunscreens for Oily Skin and Everything You Need to Know Before Buying One (2023)
 Minor Blemishes and Wrinkles Affecting Your Confidence? Check out the Best BB Creams to Conceal Your Worries and Nourish Your Skin to Restore the Healthy, Radiant and Glowing Complexion Back Again (2023)