-
 Want More Tantalizing Breakfast Ideas? Here are 6 Scrumptious Egg Recipes for Breakfast That Will Make You Want to Eat Eggs All Day (2020)
-
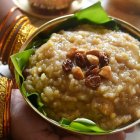 Want to Pamper Your Taste-Buds this Pongal? Here are Mouth-Watering Pongal Recipes You can't Miss in 2019
-
 Breakfast is the Most Important Meal of the Day: 10 Nutritious and Easy-to-Make Indian Breakfast Recipes to Start Your Day (2019)
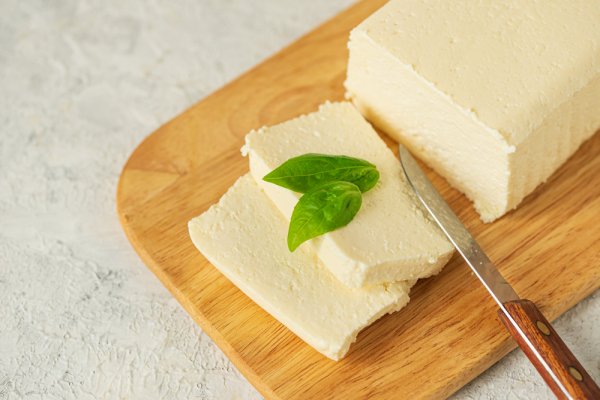
The Only Guide You Need on How to Make Paneer at Home
Paneer or Indian cottage cheese is a usual protein source for vegetarians or non-meat eaters. And, it is an integral part of north Indian curries or Punjabi cuisine. Prepared by curdling the milk, it is used in various popular dishes like Kadai paneer, palak paneer, matar paneer, etc. You can purchase it from a nearby grocery store or prepare it at home with simple steps and ingredients, including lemon juice, vinegar, or yoghurt.
To prepare paneer at home, you should use full cream milk instead of skim or lite variant. Make sure to wash the curdled milk thoroughly to remove the lemon juice or acidic traces. Else your cheese may taste sour. Making paneer at home isn’t a difficult task. Instead, it’s simple as well as fast and takes approximately two hours from beginning to end.
Related articles
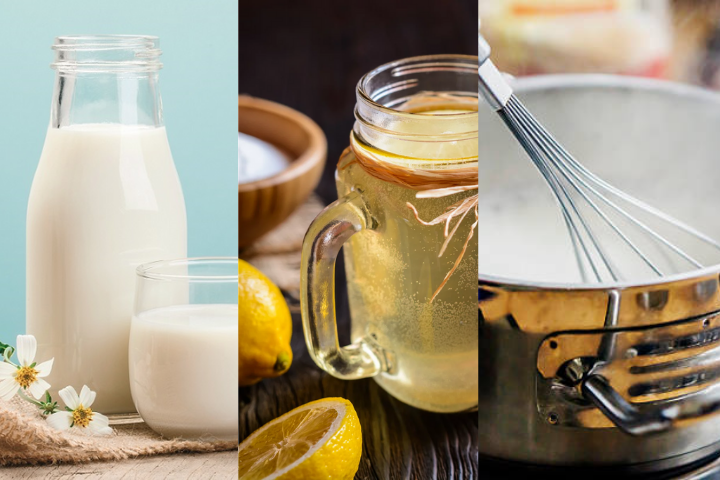
Acids Used in Making Paneer
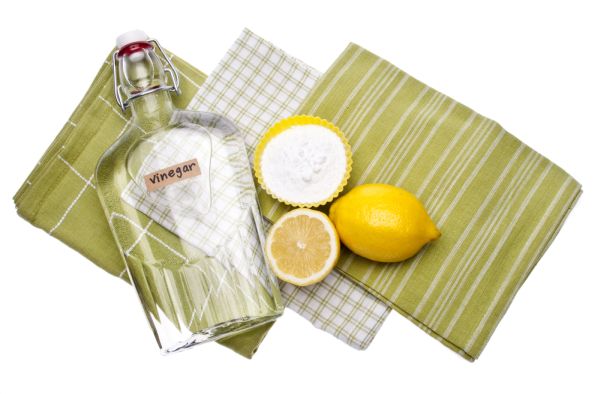
Most of the Paneer sold in the market uses citric acid for preparation. For homemade paneer, you can go for lemon juice, vinegar, or yoghurt. The flavour, texture, and taste of the paneer depend upon the type of ingredient. However, yoghurt is the best option to prepare soft paneer, but vinegar and lemon juice are good options.
Related articles

Yoghurt
For this, you need to rinse the chenna (curdled solids). However, you can avoid this step by draining it well to squeeze out the extra whey. Then, please leave it to set. Also, using many curds to curdle the milk could make the paneer get a mild flavour.
Related articles
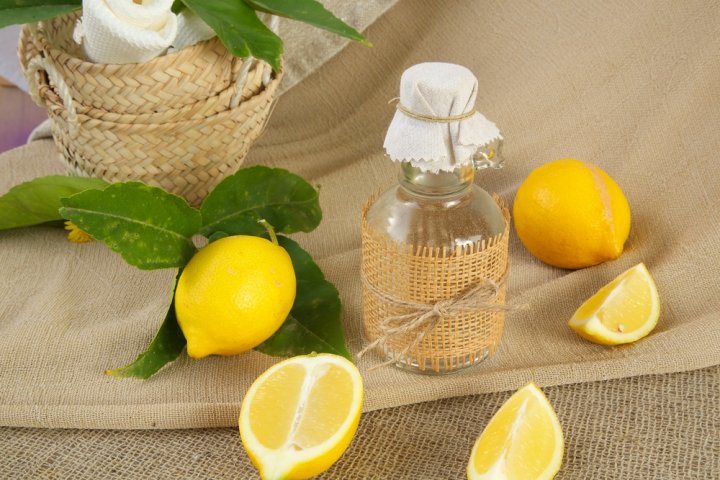
Lemon Juice
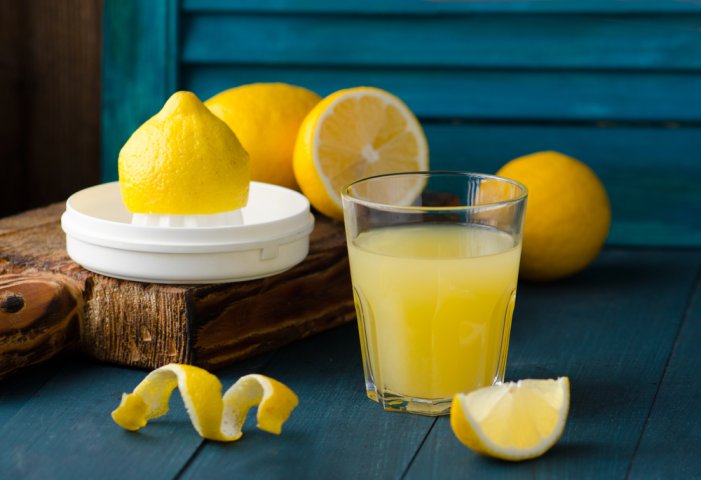
If you want to make the paneer grainy, add a lot of lemon juice. Besides, this juice will also impart a lemony flavour to the solids if they are well-rinsed.

Vinegar
It is the most used acid to prepare cheese at home because vinegar curdles the milk rapidly compared to lemon juice or yoghurt. Like the other two options, vinegar also alters the cheese flavour if added in high quantity.
Related articles

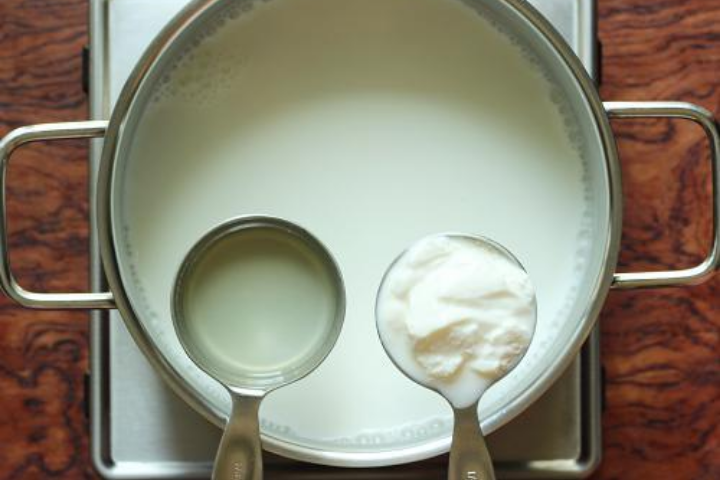
How to Make Paneer Using Yoghurt?
Homemade paneer comes out juicy and soft if you make it using curd. This method allows for quick and easy paneer that you can use to prepare curry, pizza, pasta, sandwich, etc. Follow these steps to make paneer at home using yoghurt:
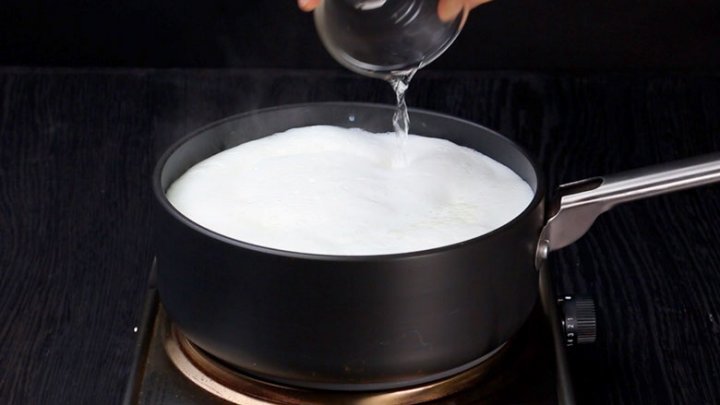
- First of all, take a pan, add milk to it and boil.
- Then whisk the yoghurt in a bowl to make it smooth.
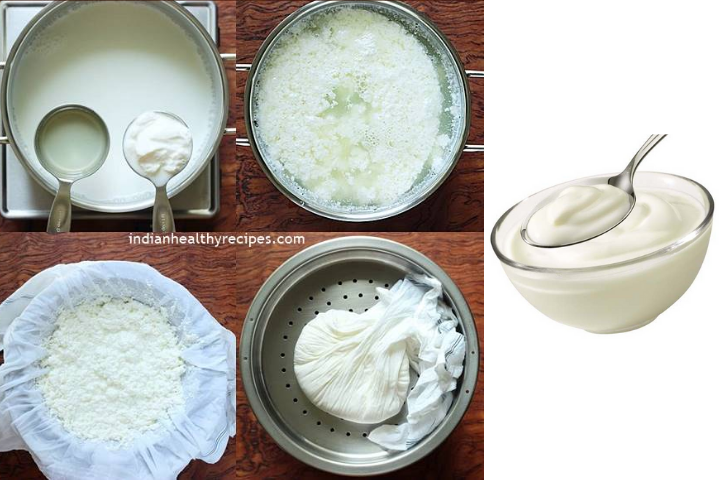
- When milk is boiling, add yoghurt to it and stir.
- After some time, when milk gets curdled, separate the greenish water from it. And strain the curdled milk in a bowl. You can place a soft cloth in the strainer for straining.
- Also, collect the greenish water in a bowl. This water is whey, and you can use it to make kneading dough, dal, kadhi, or buttermilk.
- After collecting the curdling mixture, place the strainer in a bowl.
- Use a cloth to cover it and keep aside for at least 30 minutes to remove the extra water.
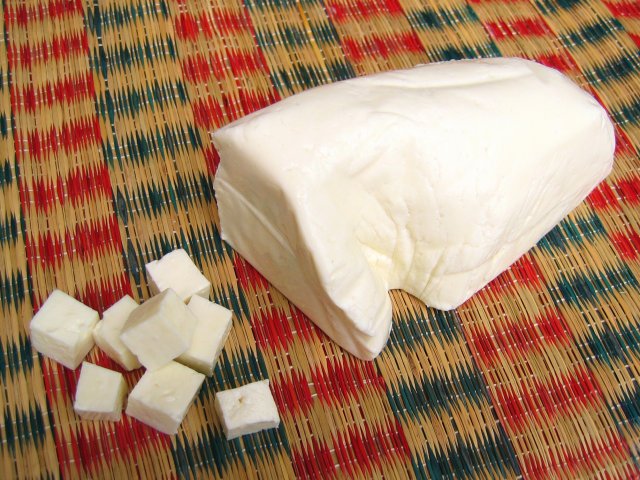
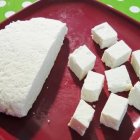
- Finally, remove the cheese from the strainer and cut it with a knife into pieces as required. You can use this paneer within 3 to 5 days.
Related articles

How to Make Paneer Using Vinegar or Lemon Juice?
Quality paneer is the crucial component of a recipe for a refreshing salad, soft milky dessert, and flavourful sabzi. To make such tasty cheese at home using lemon juice or vinegar, you need to follow these steps.
- Add milk in a large pan over medium heat to boil and stir it occasionally. Make sure the milk does not stick to the bottom of the pan.
- When it begins boiling, turn off the flame and wait for at least one minute.
- Add lemon juice or vinegar, stir it gently and then wait for two minutes.
- When the milk curdles, you will watch the whey separate. Do not add the curdling agent at that point and wait for at least five minutes for the milk to curdle fully. Then, drain this milk into a muslin cloth.
- Rinse the cheese with cold water so the paneer does not get a vinegar taste. And, bring the muslin cloth ends together to squeeze as much water as you can.
- Flatten the wrapped paneer into the muslin cloth and put it on a flat surface. Then, put a heavy thing on the top to make the paneer get set and leave it aside for a minimum of one to two hours.
- When the paneer is set, please remove it from the muslin cloth and cut it into pieces.
- Now your paneer is ready, and you can add to your favourite recipe.
Related articles

Make Your Homemade Paneer Last Longer with These Basic Tips
Tips for Making and Storing Paneer
- Always prefer using full-fat milk to make the paneer. That’s because it’s the fat content that helps make better cheese. Besides, if you use skimmed milk, it can lead to dry cheese as a result.
- While adding vinegar or lemon juice to the milk, you have to stir the mixture in the same direction. Doing this helps make large curds pieces that will stick together during the process of making paneer after some time.
- You will get some liquid as a by-product when draining the paneer. Don’t throw that away. It is the whey, which is a good protein source, and you can use it in several methods.
Related articles

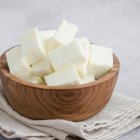
Tip for Storing Paneer

- Store the paneer in the refrigerator after wrapping it in a wet muslin cloth.
- To ensure the paneer stays good for a long time, you must moisten the muslin cloth after every 4 to 5 hours. That’s essential because the fridge tends to steal away the moisture.
- At times, you might not have a muslin cloth available. In such a case, submerge the cheese block in a water bowl and close its lid.
- Place this bowl in the refrigerator, and it will keep the cheese soft and moistened.
- Remember, don’t put paneer into the fridge for more than 2 or 3 days.
-
 How to Increase Weight: Foods to Include in Your Diet for Your Weight Gain Journey + Tips for Gaining Weight (2020)
-
 Say Goodbye to Uncomfortable Gas Problem with these Easy Home Remedies for Gas Relief 2020
-
 नाश्ता दिन का सबसे महत्वपूर्ण भोजन है: यहां 10 सर्वश्रेस्ठ पौष्टिक और कम समय में तैयार होने वाली भारतीय नास्ता रेसिपी की सूचि दी गयी है जो आपको दिन शुरू करने के लिए पर्याप्त ऊर्जा देंगी,अभी देखें(2020)।
-
 Can't Figure Out the Best Biryani Recipes to Fulfil Your Appetite(2020)? Fret Not, Read on to Find One You Will Definitely Want to Try Right Away!
-
 Looking for Something Proteinaceous to Include in Your Diet? Simple Egg Recipes You Can Consider which are As Delicious As They are Healthy! (2021)
Make the Most Versatile and Most Loved Food to Your Kitchen and Enjoy!
Paneer is the most loved ingredient of many Indian dishes. No party and festival can be planned without paneer. Paneer is used in various starters, main courses and desserts as well. Paneer is a healthy source of nutrition, carbohydrate, and calcium. If you live outside India, you can easily find Paneer in Indian stores in most of the countries but nothing can beat homemade. Follow the step by step guided recipe carefully to make smooth and spongy paneer at home. If you want some delicious paneer recipes to make at home, do visit our food categorise to get easier and luscious paneer recipe ideas.
 Highlight the Best Facets of Your Incomparable Beauty: Discover the Best Face Highlighter Currently Available in India and Everything You Need to Know About Using Face Highlighters for Maximum Effect (2023)
 Forget the Blemishes and Get that Picture Perfect Flawless Radiance on Your Face: Check out the Best Foundations for Oily Skin Currently Available in India and Everything You Need to Know About Makeup Foundations (2023)
 Make Your Presence Felt Wherever You Go: Discover the Best Perfumes Under 2000 for Both Men and Women to Announce Your Arrival and Make Any Occasion Memorable (2023)
 Protect Your Oily Skin from the Harmful Rays of the Sun: Discover the Best Gel Based Sunscreens for Oily Skin and Everything You Need to Know Before Buying One (2023)
 Minor Blemishes and Wrinkles Affecting Your Confidence? Check out the Best BB Creams to Conceal Your Worries and Nourish Your Skin to Restore the Healthy, Radiant and Glowing Complexion Back Again (2023)