The Advantages of Making a Gift
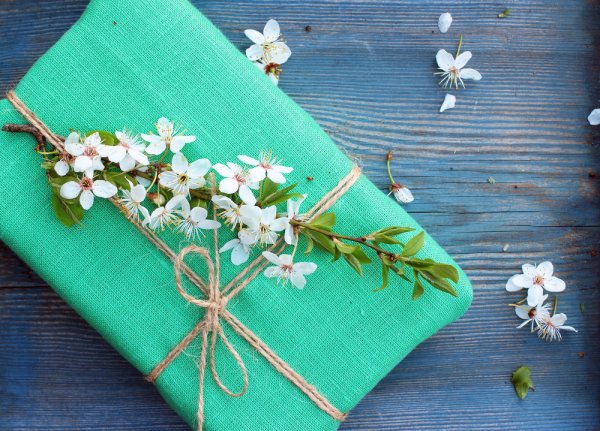
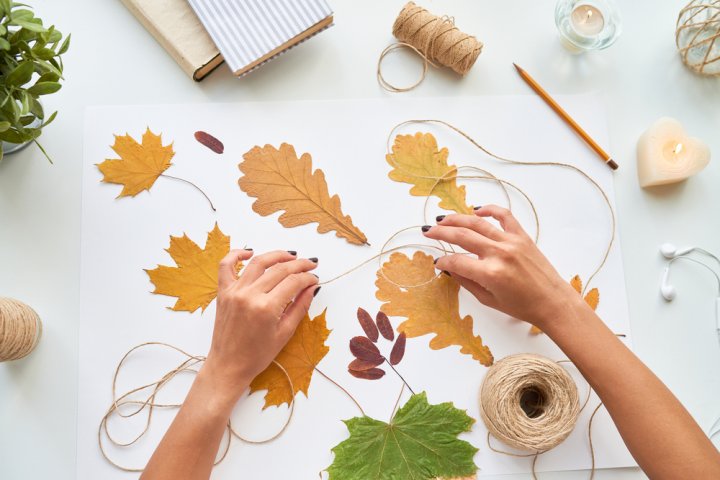
Choosing a gift for your best friend is tricky. It should be something that reminds them of you for a long time. It should also be something that is treasured and nostalgia-inducing for a long time to come. Your best choice would be a handmade gift. Handmade gifts are not only unique and one of a kind, but they are also made with love.
Also, remember that just because they are mad at home doesn't mean that they are any less of a gift. Instead, they are in fact more precious than any gifts bought in any store.
They Are Made with Love

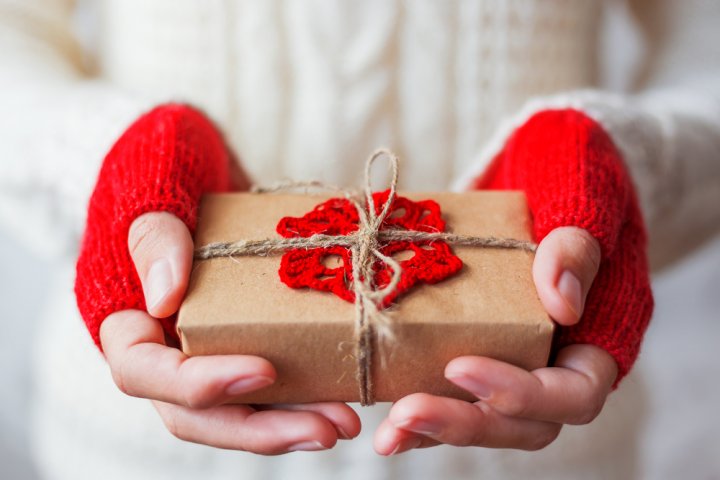
All gifts are special. But handmade gifts are exceptional in the sense that the person making the gift takes time and effort to make something special for you. It also means that they have thought of you and put effort into making something that suits your personality. You don't gift a handmade gift to just any person; You only gift it to someone who is close to your heart like your best friend; Someone who is worth all the time and effort.
They Are Less Expensive

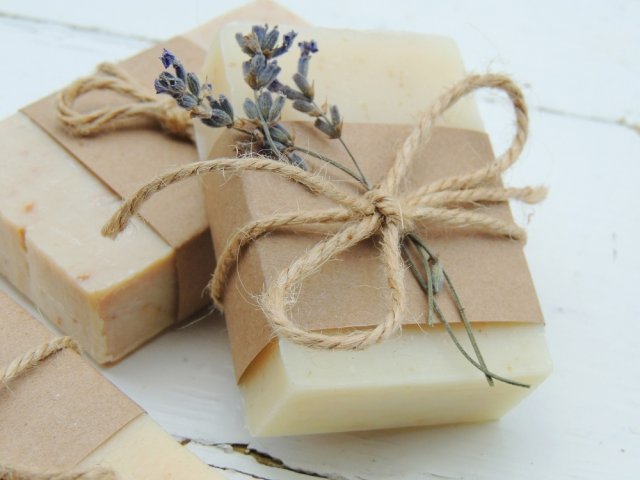
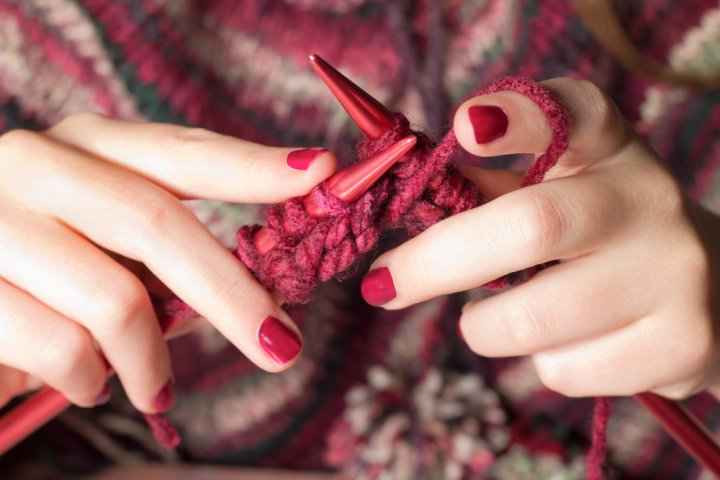
Handmade gifts can be an amazing, cost-effective alternative to many gift items such as candles. Just that it is cost-effective doesn't mean that it is of low quality. There are exceptions like knit work and needlework, but in most cases, they can fit well within your budget and you can even have some excess materials. But make sure your gift is of high-quality.
They Are as Personal as it Gets
Handmade gifts can come in handy particularly when your best friend is quite a picky person. You can craft your gift in his/her favourite colours and style. You don't have to go with the standard colour choices available in the market. You can also make something of a sentimental nature which is as personal as they come. You can even include a personal message and individualize it accordingly.
They Are Unique
Any gifts that are made by hands are unique and special. Even if you replicate the same again, it cannot ever be carbon-copy which makes it memorable. Handmade gifts like needle crafts are notable since their obvious difficulty and the needed expertise meant that they are truly one of a kind.
They Are Worthwhile Ways to Spend Time
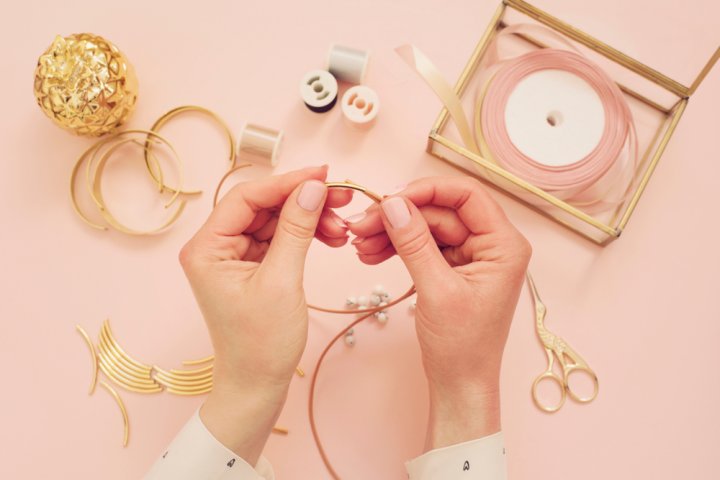
Handcrafted gifts are very fun to make and the sense of victory you get once completed is incomparable. If you have time in your hands you can even go elaborate and make it truly exceptional, especially if you are an experienced crafter. If you are not a crafter we can assure that you would be one by the end of this project.
10 Handy Handmade Gifts for Best Friend
A best friend one is someone who is close to your heart. He or she holds all our secrets and is the first person who we would go to in joy or in sorrow. Shouldn’t she be the recipient of something special? Like a handcrafted gift. We have listed easy and memorable handmade gift for best friend for you.
DIY Desktop Organiser
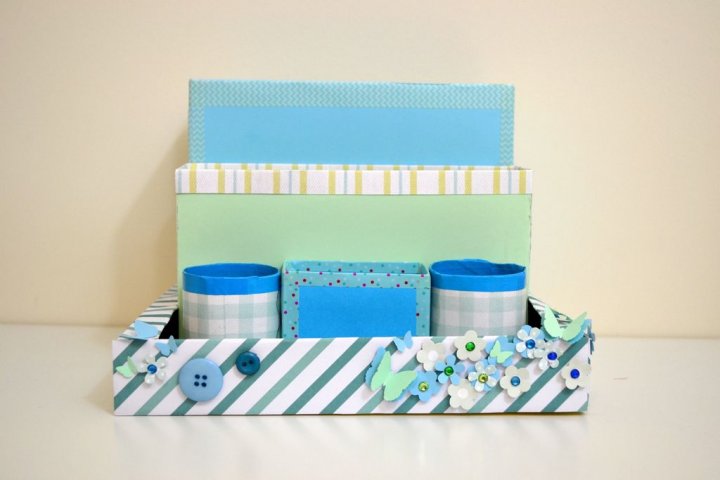
Have a best friend who is very particular about where stuff go? Does she have a place for everything on her desk? Then, this is the one for her or him.
DIY Desktop Organiser
What you need:- Cereal Boxes
- Toilet Paper Rolls
- Design Paper
- Coloured Paper
- Ruler
- Glue
- Pen
- Cutter
- Cutting Mat
- Scissor
- Bone Folder
How to make it:
- For the base: Pick a cereal box to serve as a base and remove the lid. Take your pick of design paper and mark it where you need to fold it. Fold it along the lines and use the glue to stick it on the box.
- For the first compartment: Take the biggest box of the lot and mark it at 6” from the bottom of the box. Then, cut along the marked lines. Using the design paper, cover the insides and the outsides of the box. Using the glue, stick it on to the base.
- Repeat the last steps and make sure each box is smaller than the previous one.
- If you have toilet paper rolls, add a couple at the last to be pen stands.
- Decorate the desktop organizer as you wish.
Monogrammed Mug
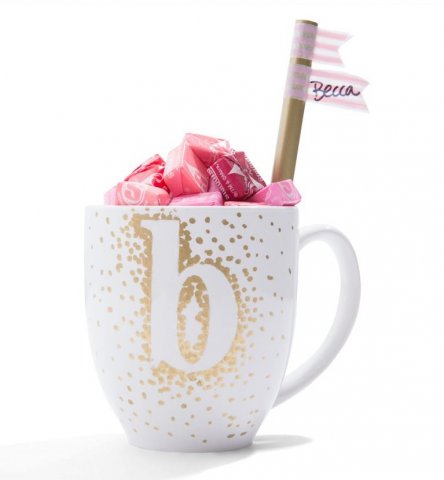
Remember that coffee addict best friend of yours? Wouldn’t she love this? A monogrammed mug with her initials; how perfect is that?
Monogrammed Mug
What you need:- White coffee mug
- Vinyl alphabet stickers
- Oil-based Sharpies
How to make it:
- Place the vinyl sticker in the centre of the mug. Since it is a gift for your best friend, choose her initials or the first letter of her name.
- Use a metallic sharpie like gold colour and mark the edges of the letter with small dots. The dots should be concentrated on the outline of the letter and sparse as you move out.
- Remove the sticker once you are done.
Phone Case
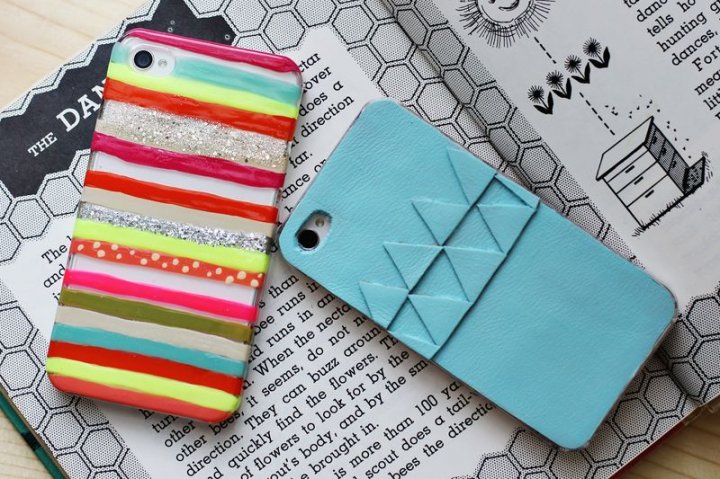
Is your friend, the one who holds her/his smartphone in their hand all time, every time? And always with the same phone case? Isn’t it time for an upgrade?
Phone Case
What you need:- Leather or Faux Leather
- Transparent Case
- Scissors
- Knife
- Super Glue
How to make it:
- Trace the shape of the transparent case to the back of the leather.
- Cut out the shape using scissors.
- Use a sharp knife to cut out the camera hole.
- Use the same colour or contrast colour leather and cut out triangles for the textural design.
- Use a super glue and paste the triangles to the main leather piece in a neat line.
- Once its dry trim the edges where ever needed.
- Use the super glue to affix the leather to the transparent case.
iPad Clutch
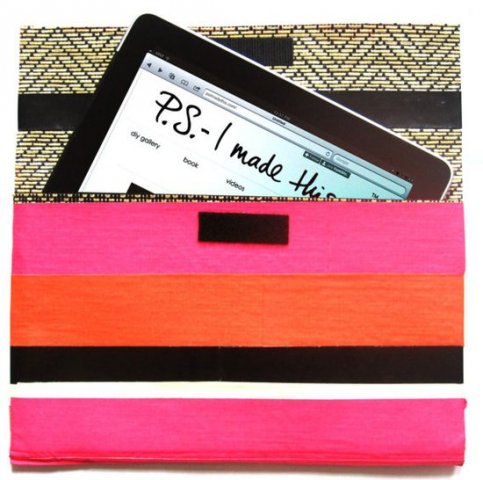
Know anyone who can make use of this pretty clutch? Not only can it be used to hold iPads, but it can also be used as a clutch.
iPad Clutch
What you need:- Drawer Liner
- Scissors
- Velcro
- Washi Tape
How to make it:
- Measure the length of the iPad and mark the same in the drawer liner.
- Fold it to make a pouch for the iPad. Add about 6 more inches of liner for the flap.
- Use the washi tape and wrap it around the length of the pouch but not the flap.
- Stick a piece of velcro to the pouch and the flap.
Little Birdie Plush

How about a sweet little birdie for your best friend as lovely as her? A lovely addition to her desk or even a charm to add to her handbag? Why not make it two?
Little Birdie Plush
What you need:- Your choice of felt and fabric
- Medium size buttons - 2
- Small beads - 2
- Tiny scraps of black and red felt
- Scissors
- Needle and Thread
- Fiberfill
- Pins
How to make it:
- Check out the images as in here and draw them on a piece of paper. Use that to trace the shape on to the back of the felt and cut it out.
- Cut out 2 pieces of the bird’s body, 4 pieces of wings and 4 pieces of legs. The bird’s body is made of fabric and the rest out of felt.
- Stick the belly and the head to the fabric with a pin as shown in the image. Use a needle and thread to stitch it to the fabric which makes the birds body.
- Cut out small circles out of the black felt and use it along with the beads to make the eyes of the bird. Cut out a small square out of the red felt to make beak of the bird and sew it on.
- Turn it inside out and stitch the front and the back portions of the bird together leaving a small space at the bottom to insert the filling.
- Stitch the wrong sides of the wings together to form two wings. Repeat the same for the legs.
- Turn the bird to the right side and fill it with fiberfill.
- Stitch the wings and the legs to the bird. Use the buttons to stitch the wings in place.
- It's optional to add a keychain to the top of the bird to make it into a keychain or a charm.
Twig Votive Candle Holders
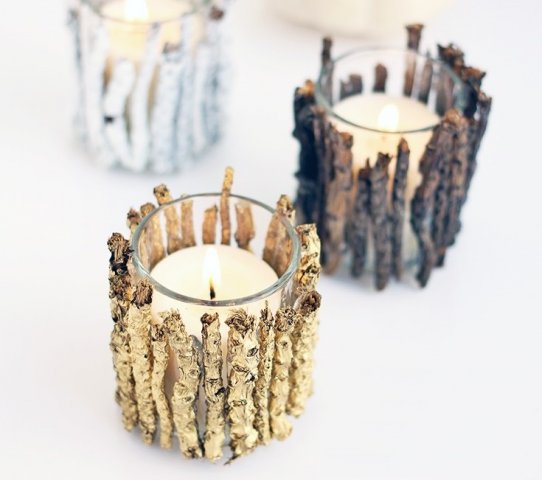
Scented candles are a guilty pleasure for everyone. Why not make a candle holder? A perfect fit for an autumn decor.
Twig Votive Candle Holders
What you need:- Votive Candles - 3
- Glass Votives - 3
- Gold and Silver Spray Paint
- Twigs from Craft Stores
- Hot Glue Gun & Glue
How to make it:
- Break the twigs roughly the length of the glass votives. Make 3 different piles with 25 twigs in each pile.
- Using your spray paint, paint one pile with gold, the other with silver and the last pile unpainted.
- Using the hot glue gun, apply glue to one side of the twig and press it to the side of the glass votive immediately. Hold it together until it adheres completely.
- Repeat the previous step for all the glass votives and place the candles inside once dry.
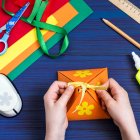
Bow Pouch
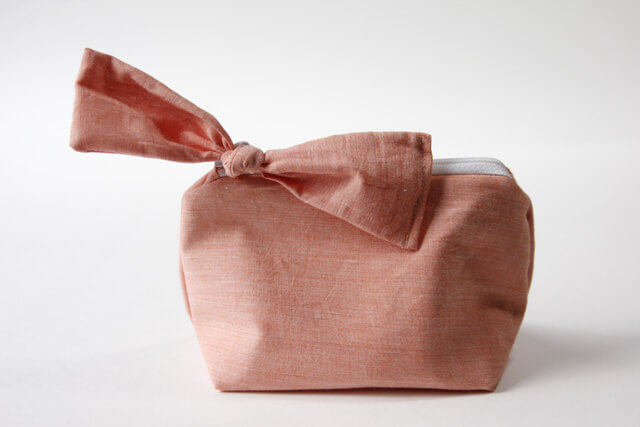
Women and bows go together. What better gift can you think of other than a bow pouch? Be sure to make it in her favourite colour and watch the amazement in her eyes.
Bow Pouch
What you need:- 9 inches fabric for outside
- 9 inches fabric for lining
- 9 inches duck cloth for interfacing
- 1″ of 1/4″ wide elastic
- 7″ zipper
- Needle and Thread
- Pins
- Pattern Piece - downloaded
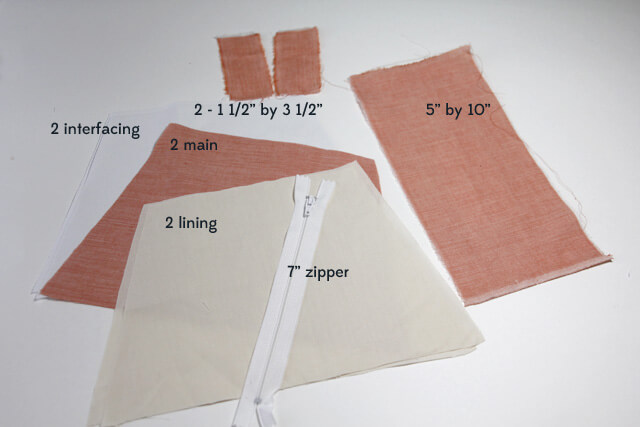
How to make it:
- Print the pattern as shown here and use it to cut out 2 pouch pieces of main fabric, lining and interfacing, 1 rectangle of measurements 5” by 10” and 2 rectangles of measurements 1 ½” by 3 ½”. Both the rectangles should be cut from the main fabric.
- Stack the right sides of one main piece and one lining piece together. Place one interfacing fabric on the main fabric and sew them together ½” from the top.
- Press seam toward lining and topstitch and again in half.
- Repeat steps 2 and 3 again with the remaining pieces. Now you have two pieces of your bag.
- Take the small rectangles and press ½” on both the sides of the rectangles and again fold in half.
- Take the zipper and cut off ½” of the either side to make it the same length as the bag.
- Pin the rectangle pieces to both the sides of the zipper and pin it in place. Once it is held together by the pins, stitch it in place over the zipper.
- Place the zipper on the bag pieces so that the right sides are together. Pin it and sew it at ¼”.
- Repeat the same on the other side.
- Open the zipper and pin the right sides of the bag together. Sew it in place at ½”. Make sure to sew it all the way around.
- Trim the seam allowance and if possible serge it.
- Pinch both the bottom corners of the bag and stitch 2 ½” from the corner.
- Fold the long rectangle longwise and stitch one long end and one short end on the wrong side.
- Pull the right side out and fold it ¼” from the unstitched edge and stitch it close.
- Thread the elastic through the zipper pull and stitch the ends together.
- Thread the rectangle through the elastic and tie it in a knot for the bow.
Rhinestone Embellished Scarf and Gloves

Why plain and solid scarf and gloves when you can have them embellished with rhinestones and everything pretty. Winter doesn’t have to be pale and dull with all these rhinestones, does it?
Rhinestone embellished scarf and gloves
What you need:- Scarf and Gloves
- Rhinestones
- Glue
How to make it:
- Lay out your scarf and gloves and place the rhinestones in any design you want. Let your imagination run wild. Make sure to take the picture of your design for future reference.
- Take each stone one by one and use the glue to stitch it to the fabric. If any excess glue is present, wipe it using a tissue.
- Repeat the previous step on the gloves as well as the scarf.
Bath Bombs
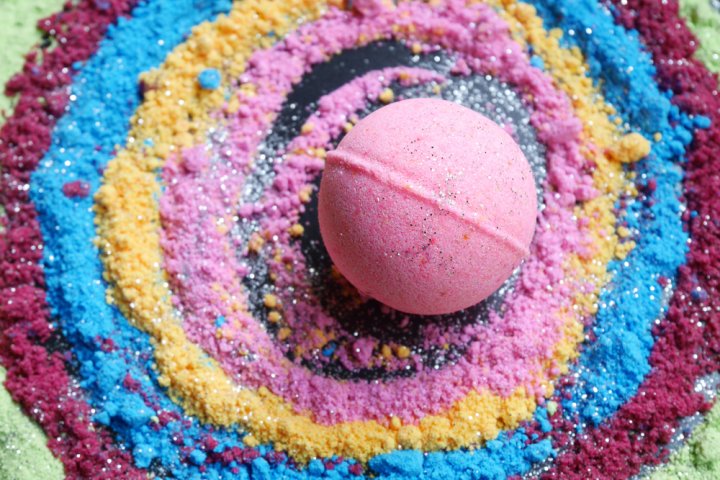
Who wouldn’t love a nice soak with a bath bomb fizzing around? As winter approaches, this is what anyone would love, even your best friend.
Bath Bomb
What you need:- Baking Soda - 8 oz
- Cornstarch - 4 oz
- Epsom Salt - 4 oz
- Cream of Tartar - 4 Tbsp
- Water - ¾ Tbsp
- Essential Oil - 2 Tsp
- Vegetable Oil - 2 ½ Tbsp
- Food Colour - 1 or 2 drops
- Plastic Fillable Ornament
How to make it:
- Combine the dry ingredients in a bowl.
- Combine the wet ingredients separately.
- Mix the wet and the dry ingredients. Add the wet ingredients little by little and keep whisking.
- Pack the mixture tightly in a transparent plastic ornament and close the ornament to get the round shape.
- Let the bath bombs dry overnight.
Scarf Camera Strap
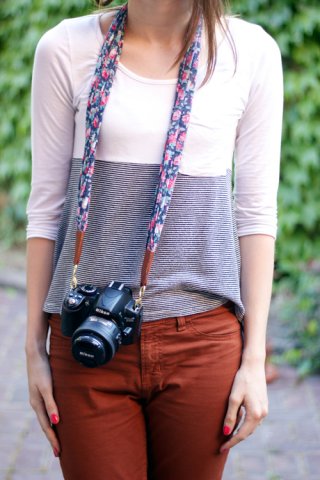
Is your bestie a wannabe photographer? Why not gift her this beautiful camera strap? All you need is a scarf and some itty bitty stuff you are sure to have around somewhere.
Scarf Camera Strap
What you need:- Scarf
- 2 Chain Closures
- 2 Split Rings
- Needle and Thread
- Scrap of Leather
- Scissors
- Pen
How to make it:
- Draw the shape in the leather as in this image with a pen. The smallest part should fit in the ring and both the sides should be a mirror image of each other.
- Cut out the leather on the lines traced.
- Repeat the steps above to create one more leather piece.
- Connect the split ring to the chain closure.
- Slide the leather in the ring so that the ring is settled in the smallest width of the leather. To slide the leather in the ring, fold the leather lengthwise.
- Place the scarf in the leather and stitch along the edges of the leather.
- Repeat the steps 4 - 6 for the other leather piece and make your scarf camera strap.
How to Choose Your DIY Project
Now that you have selected your project, here are a few tips for a successful handmade gift that your best friend would not believe is crafted by hand.
Play to Your Strengths
You may be a crafter already or you may just be a crafter at heart. Whatever it is, choose your projects that play to your strengths. If this is your first time at crafting, try something that doesn't need too much expertise from your end. If you have already tried a few DIY gifts already, go for something complex only if you are confident of your skills. The end result should be high-quality and not something that talks of your trials and tribulations.
Never Compromise on Quality
If you are in a hurry, it is very easy to compromise on quality. Remember only give a handcrafted gift, if you like to receive it yourself. If not better run to a store and buy a gift on the way to meet your best friend. Your gift should be memorable; something that talks of your friendship and love. A gift made in a hurry and paste work doesn't do that.
Make Them a Useful Gift
Are you unsure of what your best friend would like? Is your inspiration still not hitting you? Better go for something that is useful and practical like the iPad clutch or the monogrammed mug. They are easy to make and they would always find a use for it.
-
 Give An Extra Special Gift This Time! 10 Unique, Super Easy Handmade Gifts For Birthdays That You Can Make Yourself
-
 Feeling Creative in 2019? Here are Some Amazing Do-It-Yourself Gift Ideas
-
 How to Impress Him with Handmade Gifts and 10 Super Simple DIY Gifts You Can Make for Your Boyfriend
-
 10 Easy Handmade Gifts for Friends with Step-by-Step Directions and Video Tutorials (2018)
-
 How Romantic Gifts Say You Care for Your Boyfriend and 10 Gifts for Boyfriend in India
Pair handmade with store bought
What matters most is you give your best friend a gift they love and something you’re proud of and it doesn’t have to be all handmade even if that’s the idea you started with. See something at a store you know she will adore if you make a few changes to it? Walk right in and buy it for her. Or mix it up, give him something handmade and a little something you picked up somewhere. This isn’t a class project you’re going to get graded on!
 Highlight the Best Facets of Your Incomparable Beauty: Discover the Best Face Highlighter Currently Available in India and Everything You Need to Know About Using Face Highlighters for Maximum Effect (2023)
 Forget the Blemishes and Get that Picture Perfect Flawless Radiance on Your Face: Check out the Best Foundations for Oily Skin Currently Available in India and Everything You Need to Know About Makeup Foundations (2023)
 Make Your Presence Felt Wherever You Go: Discover the Best Perfumes Under 2000 for Both Men and Women to Announce Your Arrival and Make Any Occasion Memorable (2023)
 Protect Your Oily Skin from the Harmful Rays of the Sun: Discover the Best Gel Based Sunscreens for Oily Skin and Everything You Need to Know Before Buying One (2023)
 Minor Blemishes and Wrinkles Affecting Your Confidence? Check out the Best BB Creams to Conceal Your Worries and Nourish Your Skin to Restore the Healthy, Radiant and Glowing Complexion Back Again (2023)