-
 With So Many Options Available, It can Be Difficult to Choose the Right Laptop: Here's Our Curated List of Best Laptops for Gaming in 2020
-
 If You're Looking for a Good Laptop with Premium Features but Your Budget Cannot Exceed Rs.50,000, This Article is for You (2019)
-
 आज के युग में, लैपटॉप एक जरूरत बन गयी है: हमने 7 सबसे अच्छे लैपटॉप की एक सूची बनाई है, जिसे आप 50,000 रुपये में खरीद सकते हैं (2019)
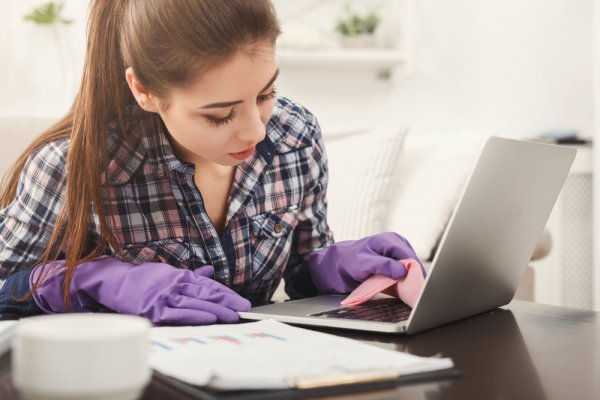
Why Keeping Your Laptop Clean Matters: Top Reasons for Regularly Cleaning Your Laptop at Home
Your laptop is more than a computer in today’s digital world; it’s a part of your persona, your friend, your confidant, data bank, the entertainment machine, and also used for finishing those work assignments as well. However, it remains one of the most neglected gadgets when it comes to cleaning and care. For some of you, laptop cleaning isn’t more than just cleaning the dirt and dust visible on the case or the keyboard, but you don’t notice that simply wiping off the screen or the keyboard isn’t the cleaning your laptop deserves. Noted research has revealed that the keyboard of a laptop may have up to 400 times more bacteria than your toilet seat. You heard that before, right! But a dirty laptop keyboard is not only home to dirt and bacteria, but could also make you sick.
Complete cleaning of your laptop increases its efficiency, prevents it from overheating, helps to increase the life of your laptop’s battery, helps to load the pages faster, and download the files quicker. Moreover, cleaning your laptop regularly can save you from unnecessary expenditure which you may incur on battery or other parts. Caring and cleaning the laptop once in 8–10 days ensures that the device is running at its optimal power and not slowing down due to unnecessary load on its internal parts, dirty fan, clogged vents, etc.
How to Clean a Laptop: Easy Step-by-Step Instructions You Can Follow!
Laptops may need more cleaning than regular desktops, especially if you travel frequently with your laptop. Over time, a layer of grime and dirt builds up over the screen and the keyboard which looks ugly and is certainly unhygienic. Moreover, the internal parts are also prone to dust and dirt, so they also need cleaning at least once a month. Let’s check our handy guide which can help you perform a complete cleaning of your laptop.
Cleaning the Exterior or Case of the Laptop
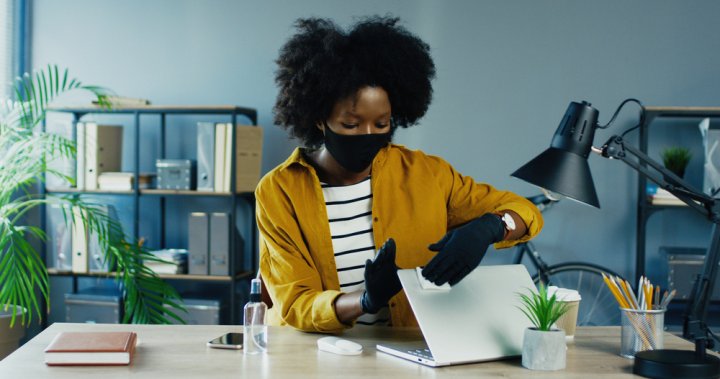
Let’s start with the most beautiful and shiny (often) part of your laptop, the case. The easiest way to clean the case of a laptop is to clean it with dish soap and water. Take distilled water in a bowl, and add a few drops of gentle dish soap. Alternatively, you can also take an equal mixture of rubbing alcohol (isopropyl alcohol) and purified water (be careful to not get even a single drop on your laptop screen, else it may damage the anti-glare coating on your screen). Now take a soft and clean sponge and soak it in the solution. Wring it out until it’s almost dry and no longer drips.
Rub the outer surface of your laptop gently with the sponge (you can also clean the touchpad with the same sponge) but refrain from touching the inside of the ports or vents with this sponge because there is a risk of moisture getting inside the laptop which may cause damage to sensitive parts. You can use cotton swabs to clean the dirt stuck in the seams and crevices of the laptop. Just dip the swabs in the cleaning solution (make sure the cotton isn’t too wet) and clean these small areas. To clean the ports or vents, use a toothpick and dig out any grime or dust stuck inside them. Finally, for cleaning the small debris, and dust particles stuck in the ports or vents, etc. use a compressed air can to blow into and out of the vents. Repeat by turning the laptop and swooshing from different angles to ensure that all the dust particles are blown out from the ports. Remember not to blow the air directly into the ports else the dust particles may enter inside the machine and cause damage to the components.
For sticky spots on the case, you can clean them with cotton dipped directly in rubbing alcohol using little pressure until the spot disappears (cotton shouldn’t be too wet) and once the entire cleaning of the laptop case is done, polish the outer part with a microfiber cloth. Now wipe the case with a microfiber cloth in a circular motion to remove moisture, stains, etc. remaining on the surface. Finally, clean the surface one last time with a cotton ball dipped in rubbing alcohol to get a shiny and sparkling case.
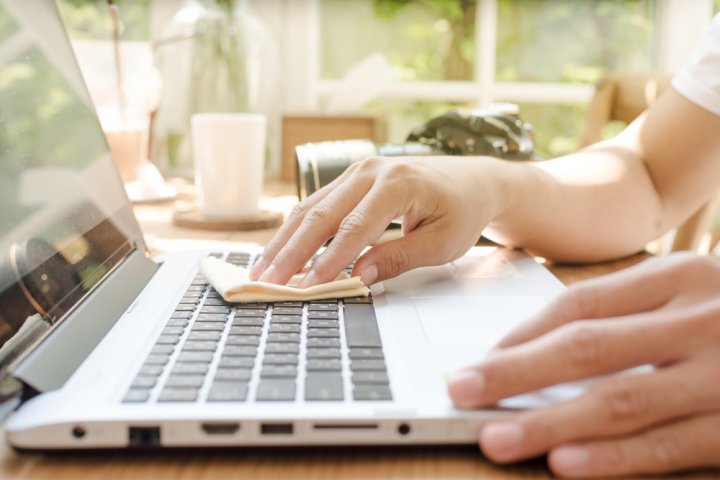
Cleaning the Keyboard of the Laptop
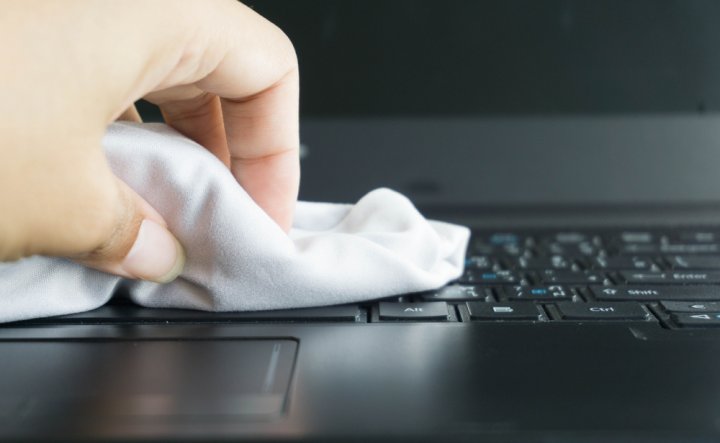
Starting with cleaning the loose dust and other particles stuck in your keyboard, hold the laptop upside down with a firm grip and the screen open; shake gently so that the larger debris and crumbs, etc. stuck in the keyboard are extricated. Tilt it to both sides one by one to get rid of any more stuck crumbs. For further cleaning of dust particles, hair strands, etc. from the keyboard, use a small handheld vacuum cleaner. Use the smallest attachment to vacuum the dirt from your keyboard without causing any harm to the internal parts of your laptop. You can also use a compressed air can to clean the keyboard of your laptop, but ensure to tilt the laptop at a 75° angle so that the dust particles are forced out and don’t go further inside into the parts. The compressed air shouldn’t be directly blown into the keyboard but from different angles.
To clean the stubborn grime sitting on the keycaps, gently rub a pencil eraser on the keycaps to get rid of this grime left over by your fingers. After cleaning with a pencil eraser, run the handheld vacuum cleaner one more time over the keys to clear off the stubble left behind by the eraser. Cleaning the place between the keys would require a cotton swab dipped in rubbing alcohol (not too wet). Use the cotton swab to gently clean between the keys and also the keycaps (just in case any grime is left behind). Finally, wipe the keys with a microfiber cloth dampened with an equal mixture of rubbing alcohol and distilled water. Give a final wipe with a dry cloth to remove moisture from the keyboard. To clean the grime stuck beneath the keys, you need to take off the keys and put them back after cleaning with a cotton swab. However, remove the keys only if you know how to put them back.
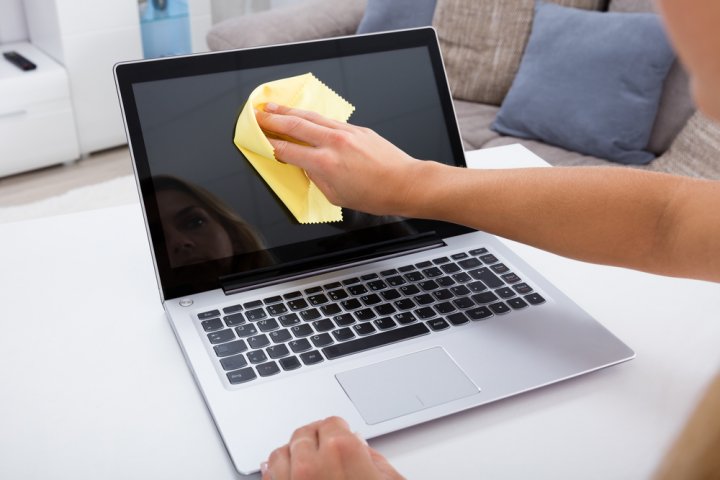
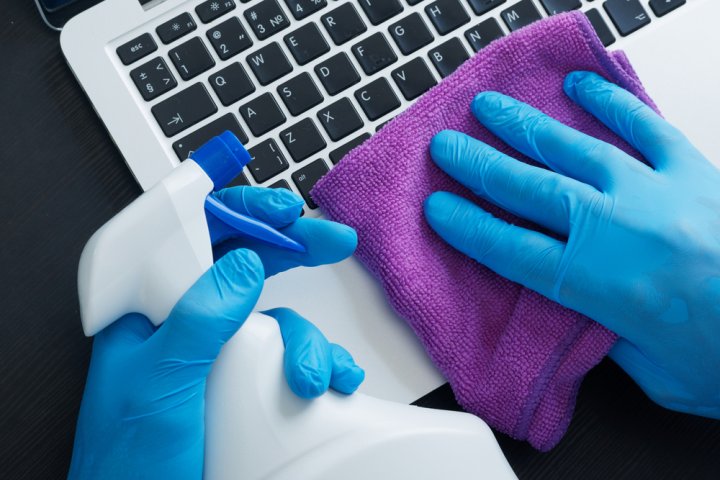
Cleaning the Screen of the Laptop
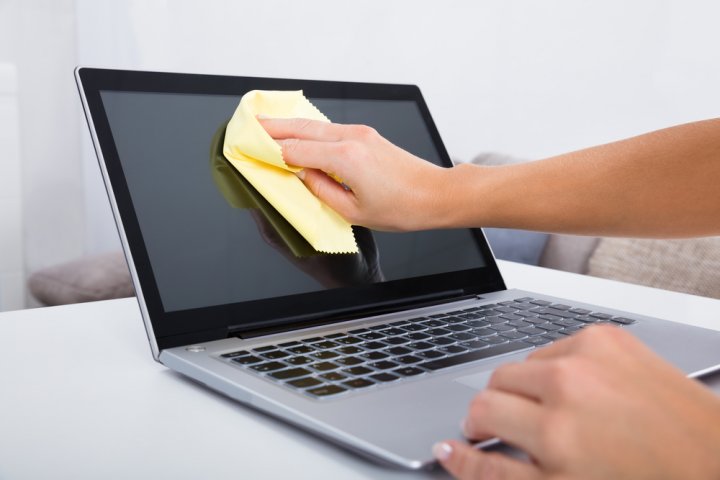
Firstly, clean the screen with a microfiber cloth while rubbing it gently across the screen, back and forth. Damp a cloth with distilled water or use a moistened cleaning wipe and wipe the screen again using light pressure. For cleaning stains or stubborn spots, use a mixture of water and a few drops of gentle soap solution. You can also use screen-cleaning kits meant for cleaning laptops and LCDs (available in computer shops and e-commerce portals). If you are using a laptop with a touchscreen, then refer to the user’s manual before cleaning it.
Tip - Don’t use your regular glass cleaner to clean the laptop screen as they contain ammonia which can cause damage to the screen.
Cleaning the Laptop Fan
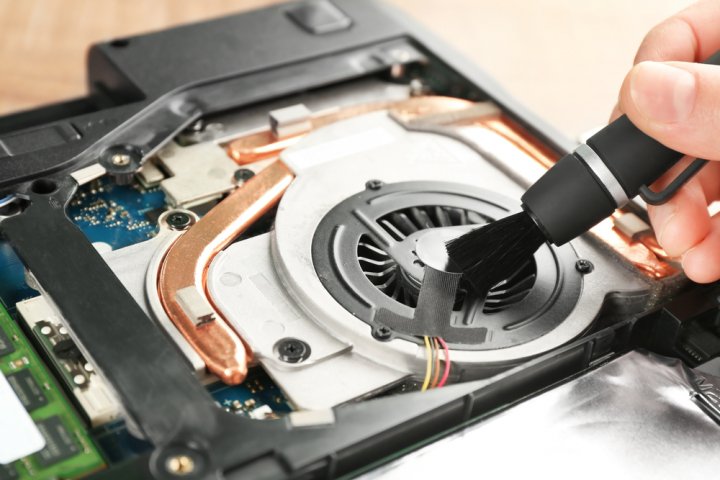
Firstly, open the bottom panel of your laptop and keep it aside. Keep the screws of different sizes in separate small bowls for the sake of convenience while re-assembling. Now the cooling fan of the laptop should be visible once the bottom panel is removed. Hold the fan so it doesn’t move and clean the face of the fan with a microfiber cloth. Then gently remove the dust away from the centre using the clean part of the cloth. Be cautious during the cleaning else small debris of dust may fall inside the fan which can cause more trouble. After cleaning with the microfiber cloth, blow into the fan gently and repeatedly until the remaining dust is blown out from the fan.
Caution - If you can open the laptop or have done it earlier, only then should you try to clean the fan and other internal parts of your laptop.
Cleaning the Laptop Battery
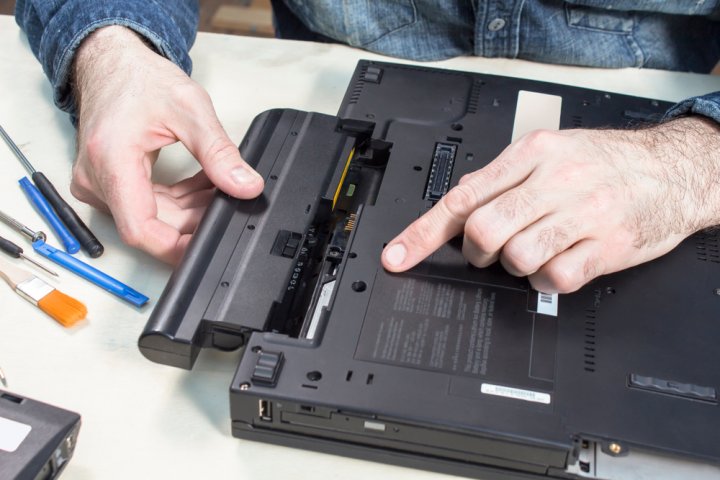
The lifeline of your laptop, the battery, is often ignored during the cleaning process. If not frequently, clean the battery of your laptop at least once every 2 months so that it keeps on operating at its optimum level. To clean the battery, take it out and clean it with a clean cloth or a cotton ball damped with rubbing alcohol. Also clean the metal points from where the battery connects and provides power to the laptop, with the same cotton ball. This cleaning will ensure that any dust disrupting the power supply to your laptop will be removed.
Cleaning Inside the Laptop
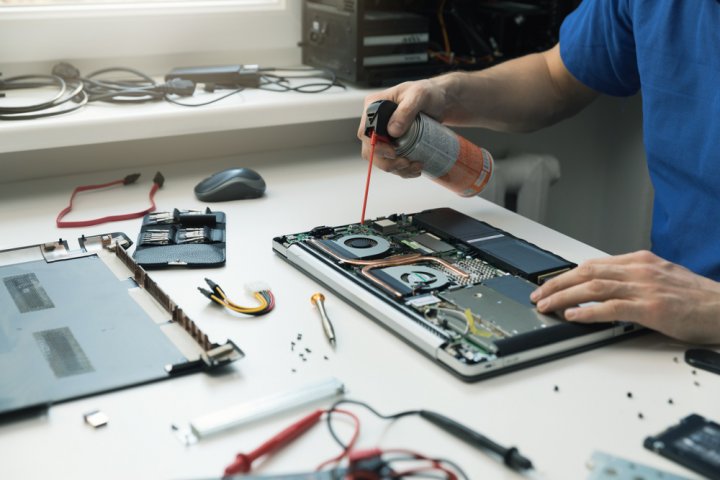
The most crucial part of cleaning a laptop is to clean it from the inside. Though not as tough as it seems, but you need to be cautious to not disturb the internal settings, components, etc. So do not attempt this unless you are confident of doing so.
To start with, switch off the laptop, takeout the battery, and unscrew only the relevant screws to open the lower panel. Click the photo of the backside before unscrewing and keep the screws in different bowls after removing them. Now gently remove the touchpad and disconnect the wire, and remove the keyboard and disconnect its wires as well. Use a dust removal spray and spray the solution all over the laptop. Review if it’s cleaned properly and leave for a minute, then reconnect the wires of the keypad and the touchpad (press the connectors gently). Put the cover and the screws back in place (use the earlier photos in case you forget how to put them back) and enjoy your neat, clean and shiny laptop.
Dos and Don'ts While Cleaning a Laptop
A few precautions should be exercised while cleaning your laptop to prevent any accidental damage to the screen or its internal parts. These small tips will save your time and money during the cleaning process. So, let’s check out a few do’s and don'ts before you start self-cleaning your device:
Do’s:
- Always use a clean and soft cotton cloth for cleaning the screen and the outer case.
- Keep the screws at a safe place if you open the laptop. Those tiny screws may get lost in the mess or fall on the ground and it’ll be difficult for you to find them later.
- Disconnect all the cables, wires and gadgets from the laptop before you start the cleaning.
- Use compressed air to clean the fan and hold the fan steady so that the blades don’t move during the cleaning process.
- Use caution to not accidentally disturb an internal control or knob during the cleaning process.
Don’ts:
- Never leave the laptop plugged while cleaning it.
- Don’t use a vacuum to clean the internal parts as it may suck up some important parts plus it can produce static electricity which can harm the delicate parts of the laptop.
- Don’t disconnect the internal wires until you know exactly how to connect them back. If necessary, click before and an after photo of the opened parts which can help you to assemble them back properly.
- Avoid, smoking, drinking, or eating near your laptop while you’re cleaning it and otherwise as well.
- Don’t use wipes that contain chlorine or bleach to clean any part of the laptop.
Good Accessories for Cleaning Laptops: Consider Having These on Hand
Twin Clean (Screen Cleaner + Wonder Cloth + Brush)
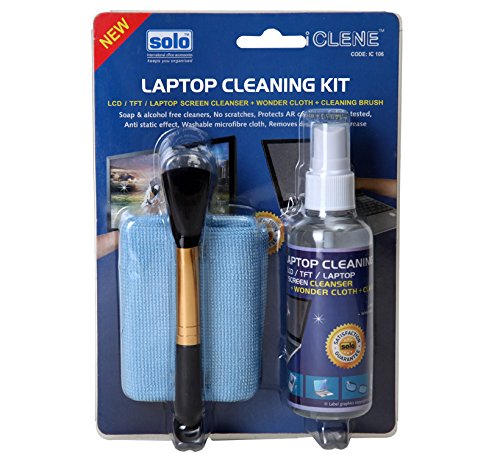
This twin clean laptop cleaning kit by Solo has a screen cleaner solution, a wonder cloth and a brush. You can perform the exterior cleaning of your laptop with the help of this kit. The keyboard and surrounding areas can be cleaned with the brush, use the screen cleaner on the laptop screen and then wipe with the wonder cloth to get a sparkling screen. You can also clean the case of your laptop with the cleaner and the cloth. This product is listed on Amazon for ₹ 190.00.
N Square Marketing EC Clean Electronic Component Cleaner
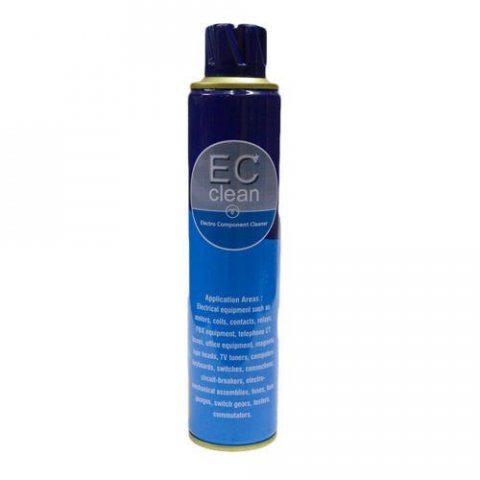
The EC Clean Electronic Component Cleaner by N Square Marketing is an excellent cleaning solution for electronic components and keyboard of your laptop. It cleans the minute circuits as well and leaves no residue while removing all the moisture. You can order it for ₹ 270.00 from Amazon.
-
 Looking for a Good Budget Laptop? We Have Hand-Picked the 8 Best Laptops in India under 25,000 That Offer Great Battery and Superior Processors (2020)
-
 Top 14 TV Series of Multiple Genres That You Can Binge Watch on Netflix in 2019!
-
 Ditch the Daily Soaps and Your Cable Service. Instead, Binge on the Best of Netflix New Series in 2019. These are the Shows Everyone's Watching!
-
 मानो या न मानो, 20,000 रुपये के बजट में आपको काफी सभ्य लैपटॉप मिल जायेगे: यह लेख 20,000 में सर्वश्रेष्ठ लैपटॉप की खोज करने में आपके लिए मार्गदर्शक साबित होगा (2020)
-
 10 Best Laptops You Can Buy in India within a Budget of Rs.20,000. Be a Multi-Tasker in 2019 with a Laptop That Suits Your Specific Needs
Exercise Caution While Cleaning Your Laptop
It is important that you exercise a little caution when cleaning your laptop so that it does not end up becoming dysfunctional. As is evident from this guide, cleaning your laptop is extremely easy and you should clean your laptop regularly. We hope this BP Guide would have helped you understand how to go about cleaning your laptop systematically. Stay connected with us for more such engaging content.
 Highlight the Best Facets of Your Incomparable Beauty: Discover the Best Face Highlighter Currently Available in India and Everything You Need to Know About Using Face Highlighters for Maximum Effect (2023)
 Forget the Blemishes and Get that Picture Perfect Flawless Radiance on Your Face: Check out the Best Foundations for Oily Skin Currently Available in India and Everything You Need to Know About Makeup Foundations (2023)
 Make Your Presence Felt Wherever You Go: Discover the Best Perfumes Under 2000 for Both Men and Women to Announce Your Arrival and Make Any Occasion Memorable (2023)
 Protect Your Oily Skin from the Harmful Rays of the Sun: Discover the Best Gel Based Sunscreens for Oily Skin and Everything You Need to Know Before Buying One (2023)
 Minor Blemishes and Wrinkles Affecting Your Confidence? Check out the Best BB Creams to Conceal Your Worries and Nourish Your Skin to Restore the Healthy, Radiant and Glowing Complexion Back Again (2023)