-
 एक ऑनलाइन मीटिंग की मेजबानी करने जा रहे हैं, तो यहां 10 सर्वश्रेष्ठ वीडियो कॉलिंग ऐप हैं जिन्हें आपको आज़माना चाहिए। वीडियो कॉल को बेहतरीन अनुभव कैसे बनाएं? (2020)
-
 Worried about Frizzy and Unmanaged Hair? Get Gorgeous and Trendy Hair Style with These 10 Best Philips Hair Straightener (2020)
-
 Are You Looking for a Water Purifier to Suit Your Sleek Modular Kitchen(2021)? 10 Best Under Sink Water Purifiers to Save Room in Your Kitchen
Things to Consider Before Starting Your DIY Project

Wondering how to make gadgets? Well, even if you're quite tech-savvy, there are some things that you must take into account before making gadgets. Here are some simple rules to start with:
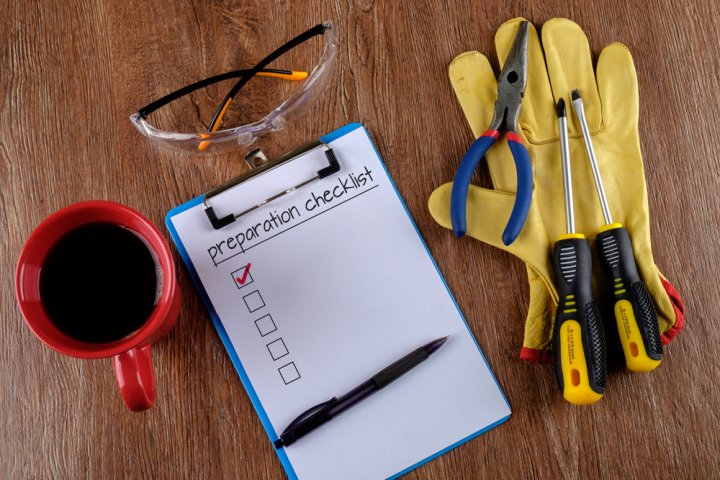
Plan Sequentially
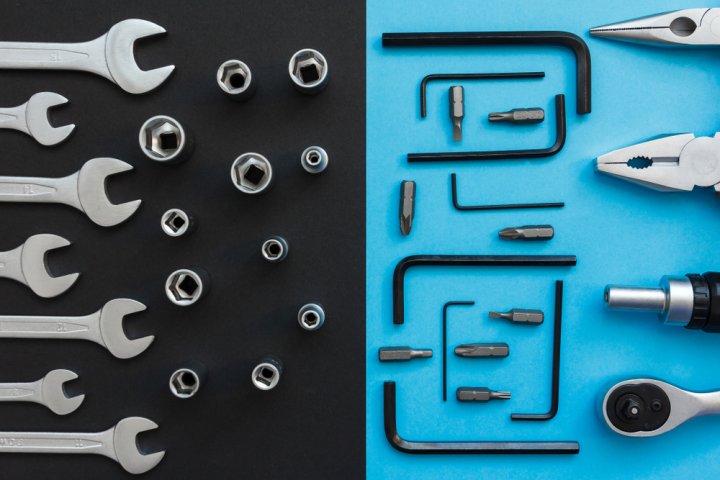
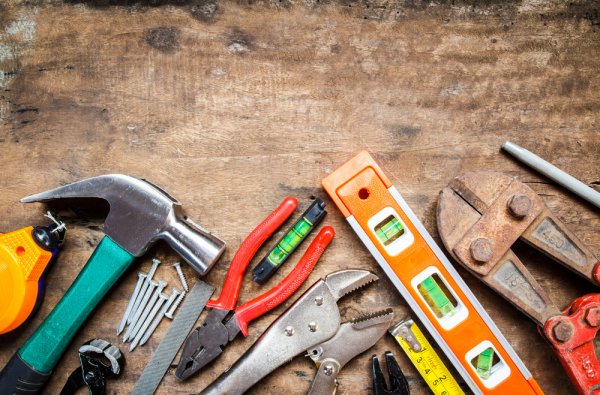
First things first, make up your mind. If you're sure enough about going ahead with your DIY project, make sure to keep essentials handy as you will need all of them for any DIY that you try. The drill machine, hot glue gun, screws, wires, boxes, box cutter, snips, hammer, screwdriver, wire cutter, c- clamps, and sandpaper. Think about arranging all these essentials and then only start the project.
Don’t Go for Substitutions
Technical DIYs have no shortcuts or substitutions. If you think that you already have a hand drill, why buy an electric drill? Using a hand drill will do the work for sure but will take a lot of time. Gradually, you will lose your interest in the entire project. Instead, make a list and buy the exact products. Also, not using the right products might not give you the precise results on your DIY.
Pause Before Doing Something Permanent

The hot glue gun will not pardon your mistakes and so will not the screws on the wood. Be careful with every step you take. Ask yourself all possible questions and seek every possibility before taking action. Take it as your last chance, and do your best!
Top 10 Advanced Gadgets You Can Make Right at Your Home!
1. WiFi Antenna
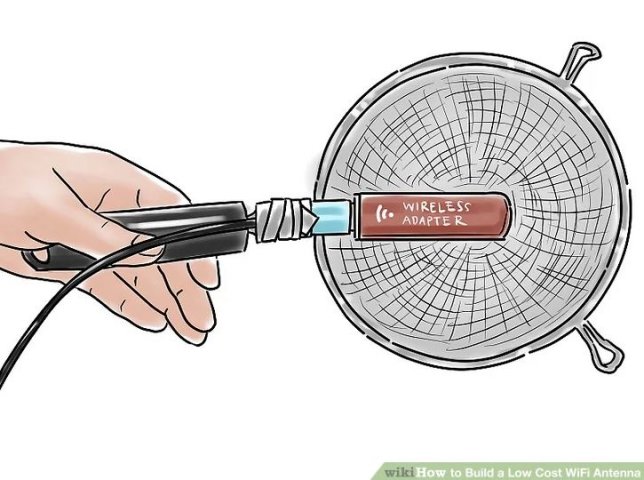
Everyone has that specific corner of their house where the wifi signal is weak or hardly responds. But with these simple tricks and methods, you can make your wifi antenna and get that kinglike feeling in the house for this invention!
Things you need: Dongle, USB extension cable, mesh-covered dish.
How to Make
- Step 1: Start with attaching the wifi dongle with the USB extension in the mesh dish using twist-ties, hot glue or tape.
- Step 2: Insert the big end of your USB on your computer. Set this as your wifi card from the network settings.
- Step 3: Aim the dish with the WIFI transmitter which you want to access.
- Step 4: Tune your mesh dish by changing and adjusting the suitable position of the dongle while keeping a check on the signal meter of your computer device.
Your network is now smoothly accessible.
2. Solar Night Light
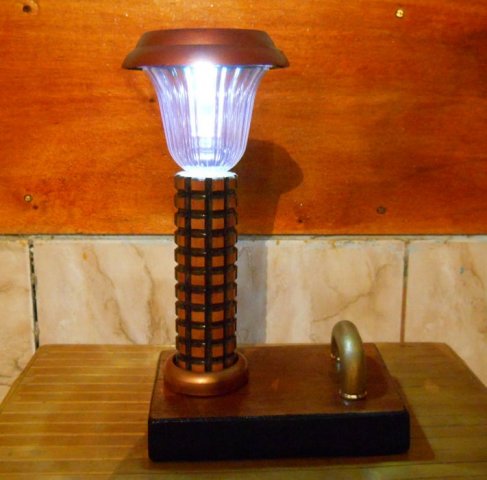
Things you need: Power drill, clamp, hole saw set, rotary tool, hollow dowel, cabinet handle, a block of wood, screws, grommet, clear varnish, black paint.
How to Make
- Step 1: Start by drilling a hole in the block of wood. After that, clamp the block of wood to prevent it from spinning around. Sand the wooden piece and paint it. Once the clamping is securely done, use the hole saws for drilling a set of circles around the area that you have drilled. Now, use a file, or any other sharp tool to scrape away the excess wood.
- Step 2: Drill two more holes for mounting the handle of the lamp. Do this once you are done with drilling the hole for the leg of the light.
- Step 3: Cut dowel exactly in the diameter of the solar lamp head. You can give it any shape you want, considering your time and effort. Grab a piece of wood and provide the form of a lamp.
- Step 4: Using a rotary tool, cut the dowel into a hollow structure for the lamp to fit in.
- Step 5: Now, keep the dowel aside and paint the wooden block with black oil-based paint, which will take a few days to dry completely. Make sure that you are allowing the colour to sit correctly. Keep the block away from the wind to avoid dust particles.
- Step 6: Grab the grommet and the handle of the lamp and paint it with golden or silver-tinged spray paint.
- Step 7: Assemble the parts to the holes you have made on the wooden block. Screw the parts well to make it durable.
- Step 8: Paint the lamp head and attach the light. Your solar night light is ready to use!
3. Audiobook Player
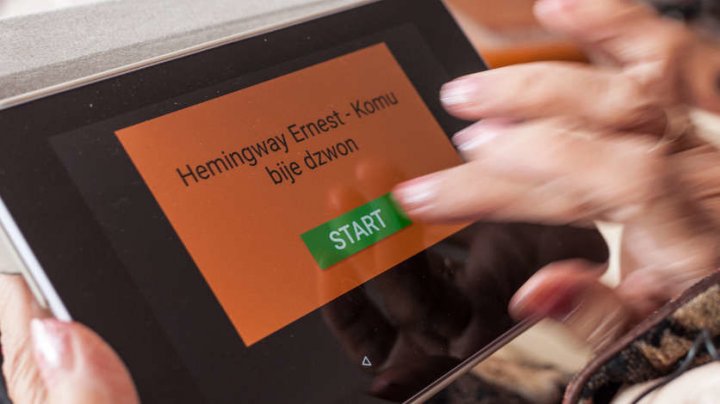
An audiobook player can be the best thing for anyone who loves to read or to listen to auditory elements. So if you are thinking about how to this make gadget at home easily, here's how you can do it. To make such a device, you need to focus on the following steps and aspects:
Material Required: Android tablet, few audiobooks in mp3 format, wifi access, a USB cable to extract audiobooks from PC to the tablet.
How to Make
- Step 1: Enable wifi access to the tablet.
- Step 2: Install the audiobooks app from Google Playstore.
- Step 3: If you cannot find any specific audiobook, you can transfer the file from your PC or laptop using the USB cable. (optional)
- Step 4: Enable the Kiosk mode. This step is done for making an illusion that no other apps exist in the tablet since the main motive is to create an audiobook by removing all the other apps.
- Step 5: Disable the wifi to make the power last longer.
- Step 6: Lastly, train the user!
Voila! Your device is ready to use.
4. Emergency Light
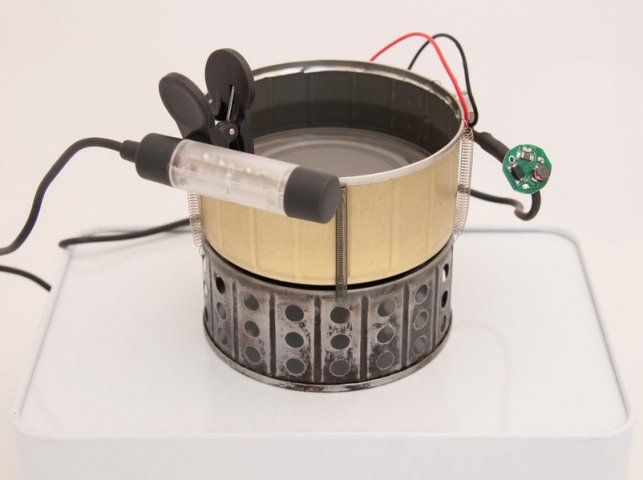
This is one of the easiest things to make at home. You can try this crazy electronic DIY design using simple techniques. This green design thermoelectric generator is made by using a handful of objects. Let's get started!
Things Needed: A Peltier element, TEG or TEC.
How to Make
- Step 1: You need to use the Peltier element, also called the thermoelectric module. You will be having two sides – one side hot and another side cold. The temperature difference of the module will start producing electricity.
- Step 2: Now, you will have to apply an electronic load for which it will force a transfer in heat from one side to the other side. This technique is often used in small coolers and refrigerators.
And, you are done! Is not it simple?
5. Smart Speaker
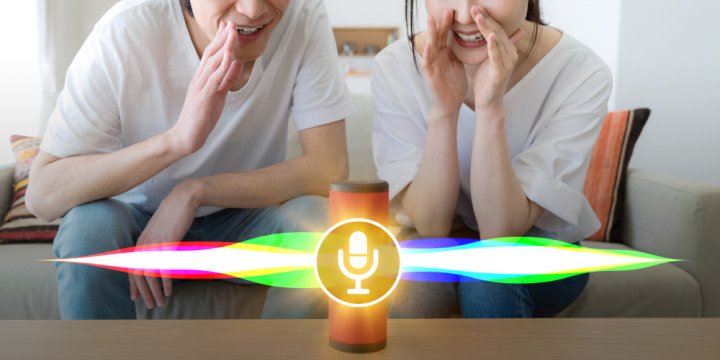
While Bluetooth speakers are hitting the market with more new features, their price is increasing every day. But don't worry! In the DIY project marathon, it is easy to make your own DIY smart speaker.
Things Needed: Smartphone, google assistant app.
How to Make
- Step 1: Make sure that your tablet or smartphone is running any of the following version of OS – Android 6.0 marshmallow or up and iOS 9.3 or up.
- Step 2: Go to google play store and download google assistant app for free.
- Step 3: Install the app and say ,"Hi!" to the Google assistant!
Your setup is ready. Play your favourite tracks and enjoy!
6. Bicycle Powered Generator for Your Home
Working on this project, to make a bicycle powered generator, is worth the effort. With the help of this generator, you can charge your devices hassle-free. The generator uses clean energy and also can be used as a power supply in case of emergency.
Things You Need:A car battery (or any other alternative), bicycle frame, bicycle stand, DC-AC inverter, 24V DC scooter motor, DC-DC battery charger, wires, multimeter to check the voltage difference
Set up - To start, you need to get a bike stand in the first place. You can also prefer to make it on your own. After that, begin with drilling function. Now ensure the connection between bike and motor and track the performance of the battery charger and check the final supply.
Check out the video for more information.
7. Solar Phone Charger
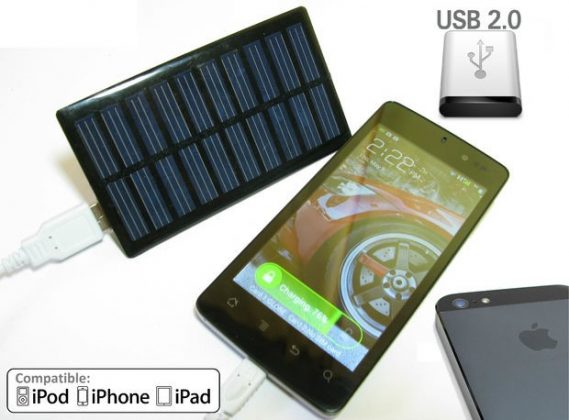
The project is a lifesaver for every smartphone user. The charger is highly portable and comes without a backup battery, which makes the device more eco-friendly. The charger works with both Apple and Android devices amicably.
Material Required: 6V Mini Solar Panel, a smartphone to test, foldable and flexible plastic card, hot glue gun, phone charger cable, 30W iron, 12V USB charger (torn apart).
How to Make
- Step 1: Take the 12V USB charger of high voltage and disassemble it.
- Step 2: Now cut the wires short so that it can be mounted very well in the solar panel. Join the charger circuit with the solar panel with the help of the solder.
- Step 3: You can add a switch to it if you want. This step is optional.
- Step 4: Using a hot glue gun, mount the charger to the solar panel.
- Step 5: Now, you have to make sure that the USB port is not being protruded and the circuit is not touching any other major or minor parts of the panel. You can also adhere to a stand to make it look cooler! Your solar phone charger is ready!
8. Smartphone Projector
Things You Need: Some thin and thick card, four drinking straws, a small mirror, a box, a few thin dowels, and a magnifying glass lens.
How to Make
- Step 1: Start by making a hole in the front of the box. This hole is the place where the lens will go. At each corner of the box, four drinking straws are placed, which will allow the thin dowels to push through. The straws make the legs of the projector.
- Step 2: Take a thick piece of card and place it on the top of the dowel. Make sure to cut a rectangular hole on the map – this will make the display of the projector.
- Step 3: Place the projector at an excellent place and set your phone's brightness at its maximum level. This brightness will be cast on the screen as the brightness of the movie.
Your cool projector is ready to give you an amazing movie experience!
9. Creating a Standalone Monitor from an Old Laptop
This DIY project isn't as difficult as it sounds like. So, no need for exchanging your old laptop! Instead, you can create a new monitor by using the old laptop screen. All you have to do is, add a controller board and your new monitor is ready with the new controller board, cables, display, and casing.
Set up: Take off the LCD panel, fix the controller board, test all these assembled materials, now give a perfect electronic structure the front case is the must. You can also use an old printer for the purpose of assigning the final look. Make sure to check out the video for more details.
10. Password Protected Door Lock
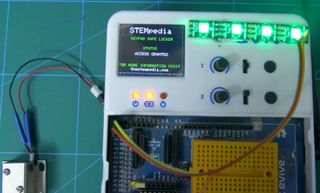
Why make only devices for entertainment and academics when you can secure your entire house with a simple DIY? Now relax on your vacation, while this password protected door lock keeps your home secure.
Things Needed: 12C 2A DC Adapter, evive, 4 x 4 keypad, male to female jumper cable (20 cm), solenoid lock, and multi-colour RGB lights.
How to Make
- Step 1: First things first, start by connecting a few parts with the other. For details, attach the Keypad, the Solenoid Motor channel 1 and the Neopixel strip to the evive. Connect them using wires. Pay full concentration while working on the connections as they make the heart of the lock.
- Step 2: You will see the working status of the keypad lock. It is due to installing the neopixel. Now, select a four-digit code as the security code for the lock. You will see that the RGB strip is showing some light indications as soon as you enter the password. That's natural! The strip's work is to indicate the number of colours equal to the number of digits that you have in your lock code.
- Step 3: For correct password code, the light will go GREEN and for the wrong, it will go RED.
- Step 4: Lastly, the Arduino code will get uploaded on evive. This code is the bounded instructions for the evive. The system controls the working principles of evive.
Ultimate Environment Benefits from DIY Gadgets

In the era of smart homes, smart cars, and intelligent devices, it is not wise to be non-tech savvy! Even if you're low on budget, there are fantastic DIYs that you can try making out of your old gadgets which are no longer in use! Let's check out some cool gadgets to which can be built with homemade objects!
Minimise Natural Resource Usage
Instead of throwing away the old electrical gadgets, it is better to replace a device with its newer and contemporary version. Building cool projects from the spare will focus on reusing old parts, thereby limiting the footprints of pollution caused by electrical components.
Minimise Energy Consumption
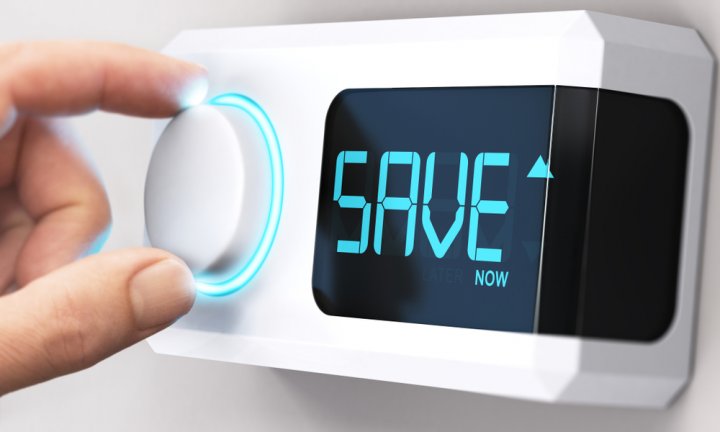
DIY experts have exciting projects in making devices that reduce energy consumption. There are several new and refreshing DIY hacks which the pros have invented over time to help and save the planet.
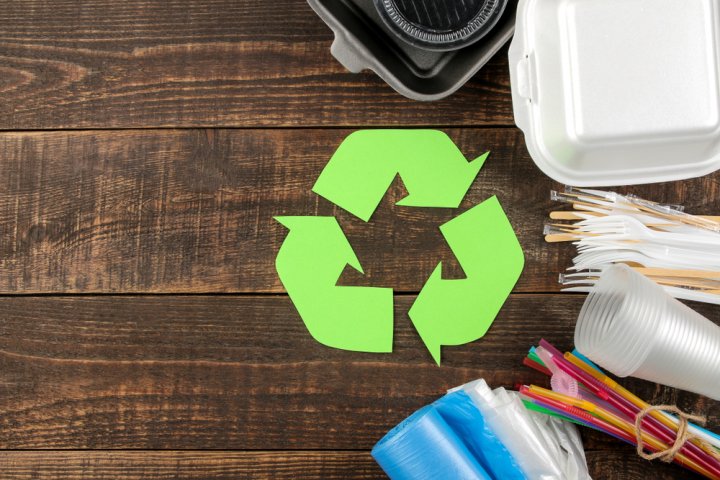
Minimise Carbon Footprint

The earth is our only home, and we must preserve her resources. Using DIY gadgets can reduce the carbon footprints of the atmosphere, thereby keeping a check on pollution. Focus on reusing & recycling by trying out these cool DIY projects.
-
एक ऑनलाइन मीटिंग की मेजबानी करने जा रहे हैं, तो यहां 10 सर्वश्रेष्ठ वीडियो कॉलिंग ऐप हैं जिन्हें आपको आज़माना चाहिए। वीडियो कॉल को बेहतरीन अनुभव कैसे बनाएं? (2020)
-
Worried about Frizzy and Unmanaged Hair? Get Gorgeous and Trendy Hair Style with These 10 Best Philips Hair Straightener (2020)
-
Are You Looking for a Water Purifier to Suit Your Sleek Modular Kitchen(2021)? 10 Best Under Sink Water Purifiers to Save Room in Your Kitchen
-
 Mobile Holder is the Most Important Accessory to Carry Your Smartphone Securely. Check out Great Mobile Holder Options for Different Applications (2020)
-
 Can't Figure Out the Best Water Softener for Your Home? A Complete Guide on Water Softeners, Things to Look for and the Best Alternatives in the Market (2020)
Take Proper Precautions Before Starting Out
Take proper precautions before you start on with preparing these gadgets on your own, such as, don't forget to wear the necessary gear if you're working with something sensitive that could harm you in some way without the protective wear. Other than that, bring out your most creative self and come up with more DIY ideas on your own, as it's said, there's no limit to imagination and creativity.
 Highlight the Best Facets of Your Incomparable Beauty: Discover the Best Face Highlighter Currently Available in India and Everything You Need to Know About Using Face Highlighters for Maximum Effect (2023)
 Forget the Blemishes and Get that Picture Perfect Flawless Radiance on Your Face: Check out the Best Foundations for Oily Skin Currently Available in India and Everything You Need to Know About Makeup Foundations (2023)
 Make Your Presence Felt Wherever You Go: Discover the Best Perfumes Under 2000 for Both Men and Women to Announce Your Arrival and Make Any Occasion Memorable (2023)
 Protect Your Oily Skin from the Harmful Rays of the Sun: Discover the Best Gel Based Sunscreens for Oily Skin and Everything You Need to Know Before Buying One (2023)
 Minor Blemishes and Wrinkles Affecting Your Confidence? Check out the Best BB Creams to Conceal Your Worries and Nourish Your Skin to Restore the Healthy, Radiant and Glowing Complexion Back Again (2023)